Biome
This guide explains how to run Biome with CloudAEye.
Overview
Biome is a linting tool that analyzes JavaScript, TypeScript, JSX, TSX, JSON, JSONC, and CSS files.
It is a high-performance, all-in-one toolchain for modern web development — combining linting, formatting, and code organization into a single executable.
Features
- Rust-powered for speed: Because Biome is written in Rust, it delivers blazing-fast performance for linting and formatting tasks.
- Unified toolchain: Biome replaces multiple tools by providing both a linter and formatter in one.
- Multi-language support: Biome supports JavaScript, TypeScript, JSX/TSX, JSON, CSS, HTML, and GraphQL.
- Extensive linting rules: It comes with hundreds of built-in linting rules, many modeled after ESLint and other tools, to catch common mistakes and enforce best practices.
Prerequisites
Step 1: Register
Sign up with CloudAEye SaaS.
Step 2: Setup Code Review
Setup Code Review by following the Getting Started guide.
Step 3: Configure the Linter
Configure the desired linter.
Configuration
CloudAEye supports Biome’s recommended best-practice configuration. If your repository already includes a Biome setup, CloudAEye will use that existing configuration automatically.
Use repo config
CloudAEye automatically reads your repository’s existing Biome configuration and uses it as is. No additional setup is needed.
Common Biome Configuration File Locations & Formats
** 1. biome.json (most common) **
The recommended and most common approach is to add a biome.json file at the root of your project. This file contains all tool settings—formatting, linting, import sorting, and more.
{
  "$schema": "https://biomejs.dev/schemas/1.8.0/schema.json",
  "linter": {
    "rules": {
      "style": {
        "useBlockStatements": "error"
      }
    }
  }
}
** 2. biome.jsonc or biome.yaml **
Biome also allows configuration using:
biome.jsonc(JSON with comments), orbiome.yaml(YAML format)
** 3. No config file (zero-config mode) **
Biome provides smart defaults, so if no configuration file is present, it still works using its standard recommended rules.
Manual
You may enter the Biome configuration you would like to use.
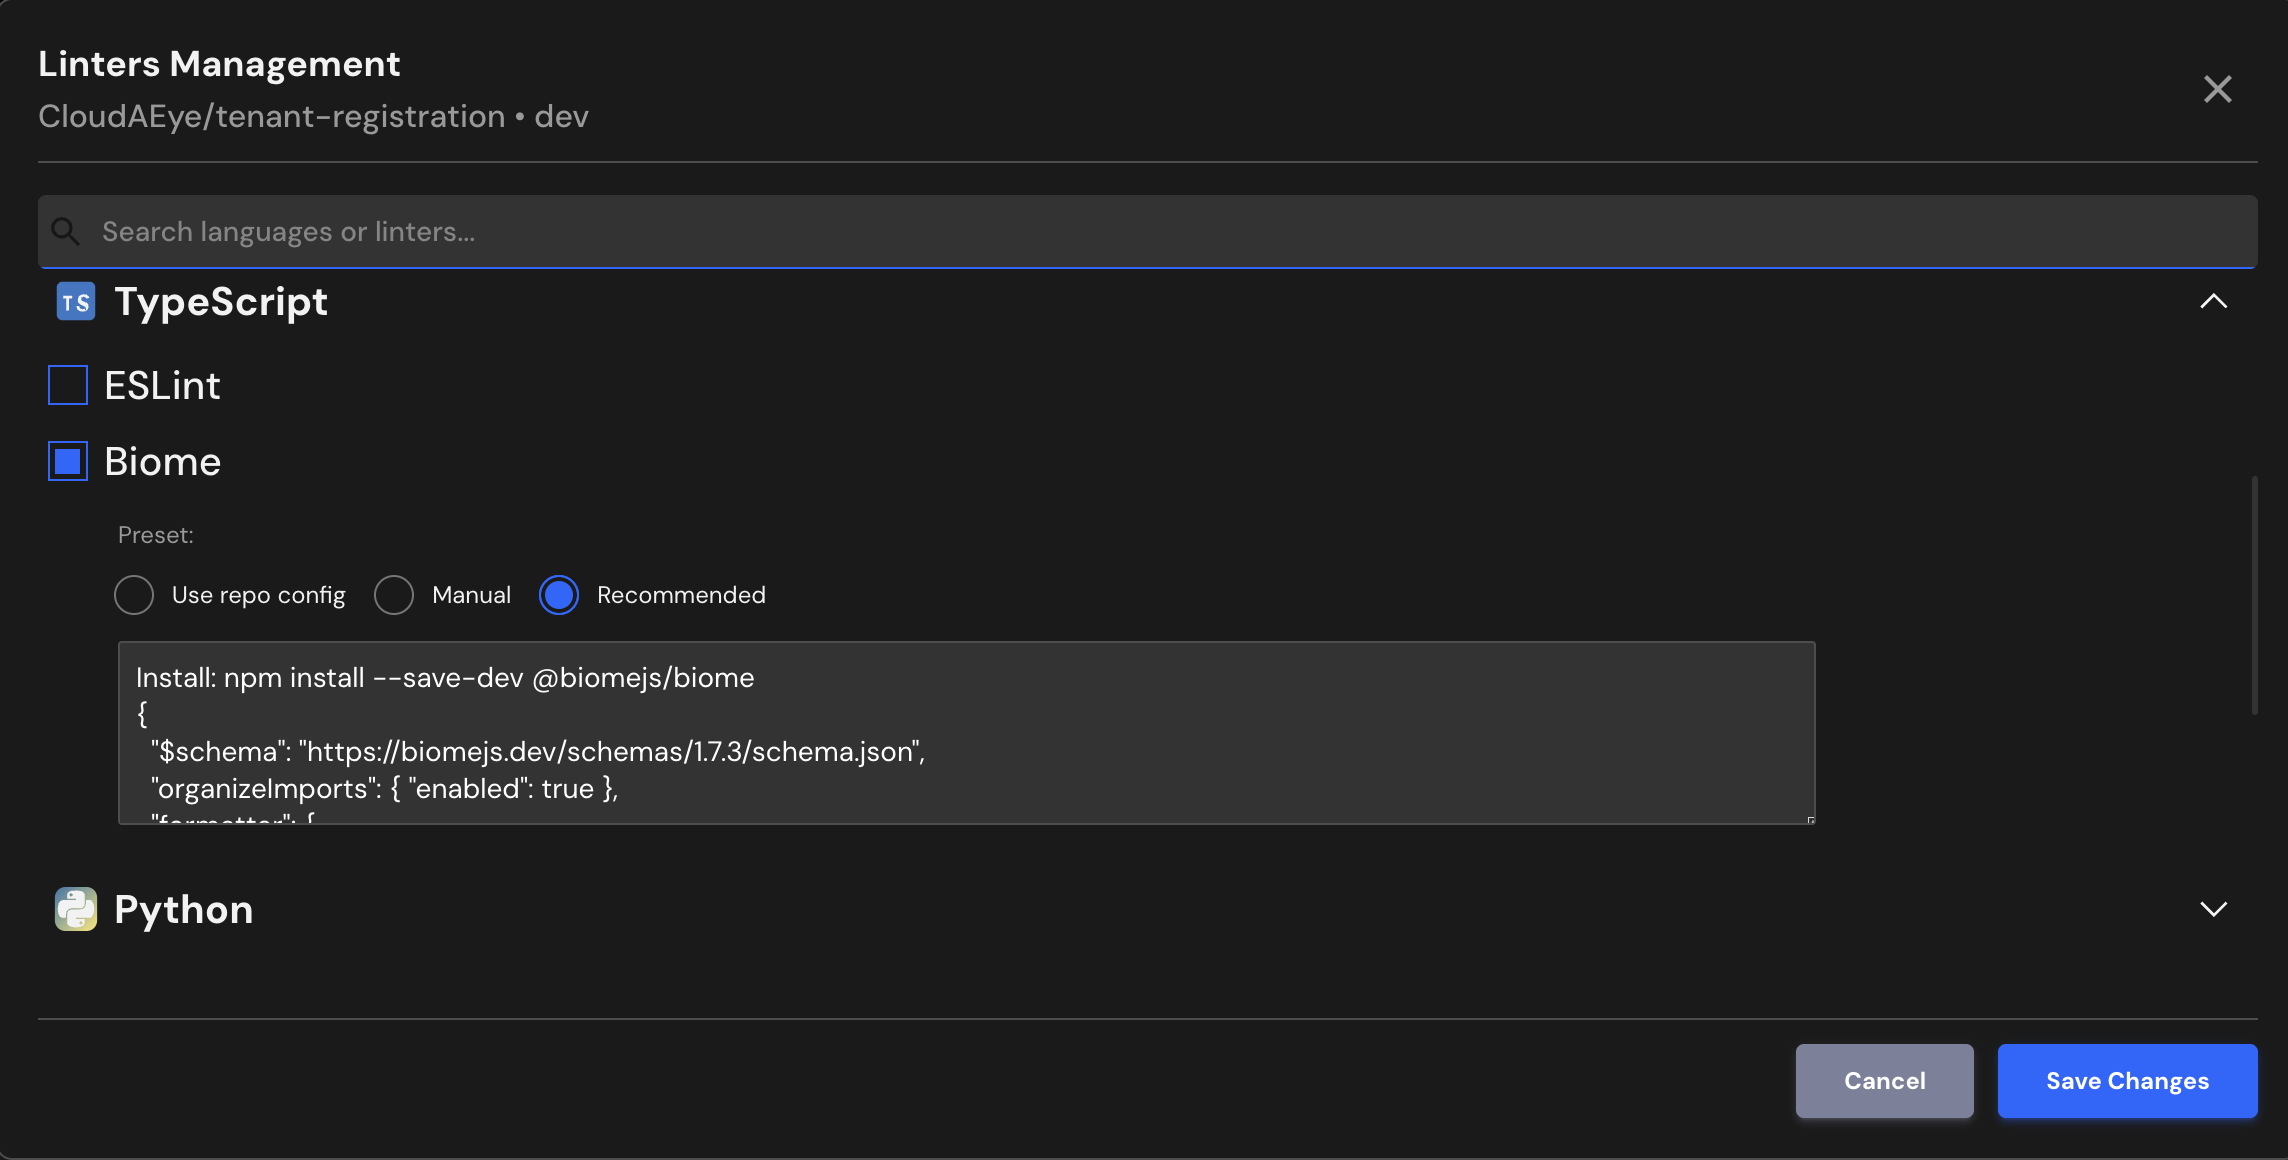
Recommended
Enables a set of core rules that catch common problems.
Install: npm install --save-dev @biomejs/biome
{
  "$schema": "https://biomejs.dev/schemas/1.7.3/schema.json",
  "organizeImports": { "enabled": true },
  "formatter": {
    "enabled": true,
    "lineWidth": 100,
    "indentStyle": "space"
  },
  "linter": {
    "enabled": true,
    "rules": { "recommended": true }
  }
}
File Extensions
Biome will run on files that use any of the following extensions:
.js, .ts, .cjs, .mjs, .d.cts, .d.mts, .jsx, .tsx, .json, .jsonc, .css
References
- Biome Getting Started guide
- Biome configuration