GitHub Repository Integration for Code Review
This guide describes how to connect your GitHub repositories for an application.
Connect GitHub Repositories
Step 1: Navigate through CloudAEye Console
After installing the CloudAEye DevProd GitHub app, you will see a page to connect your GitHub repositories.
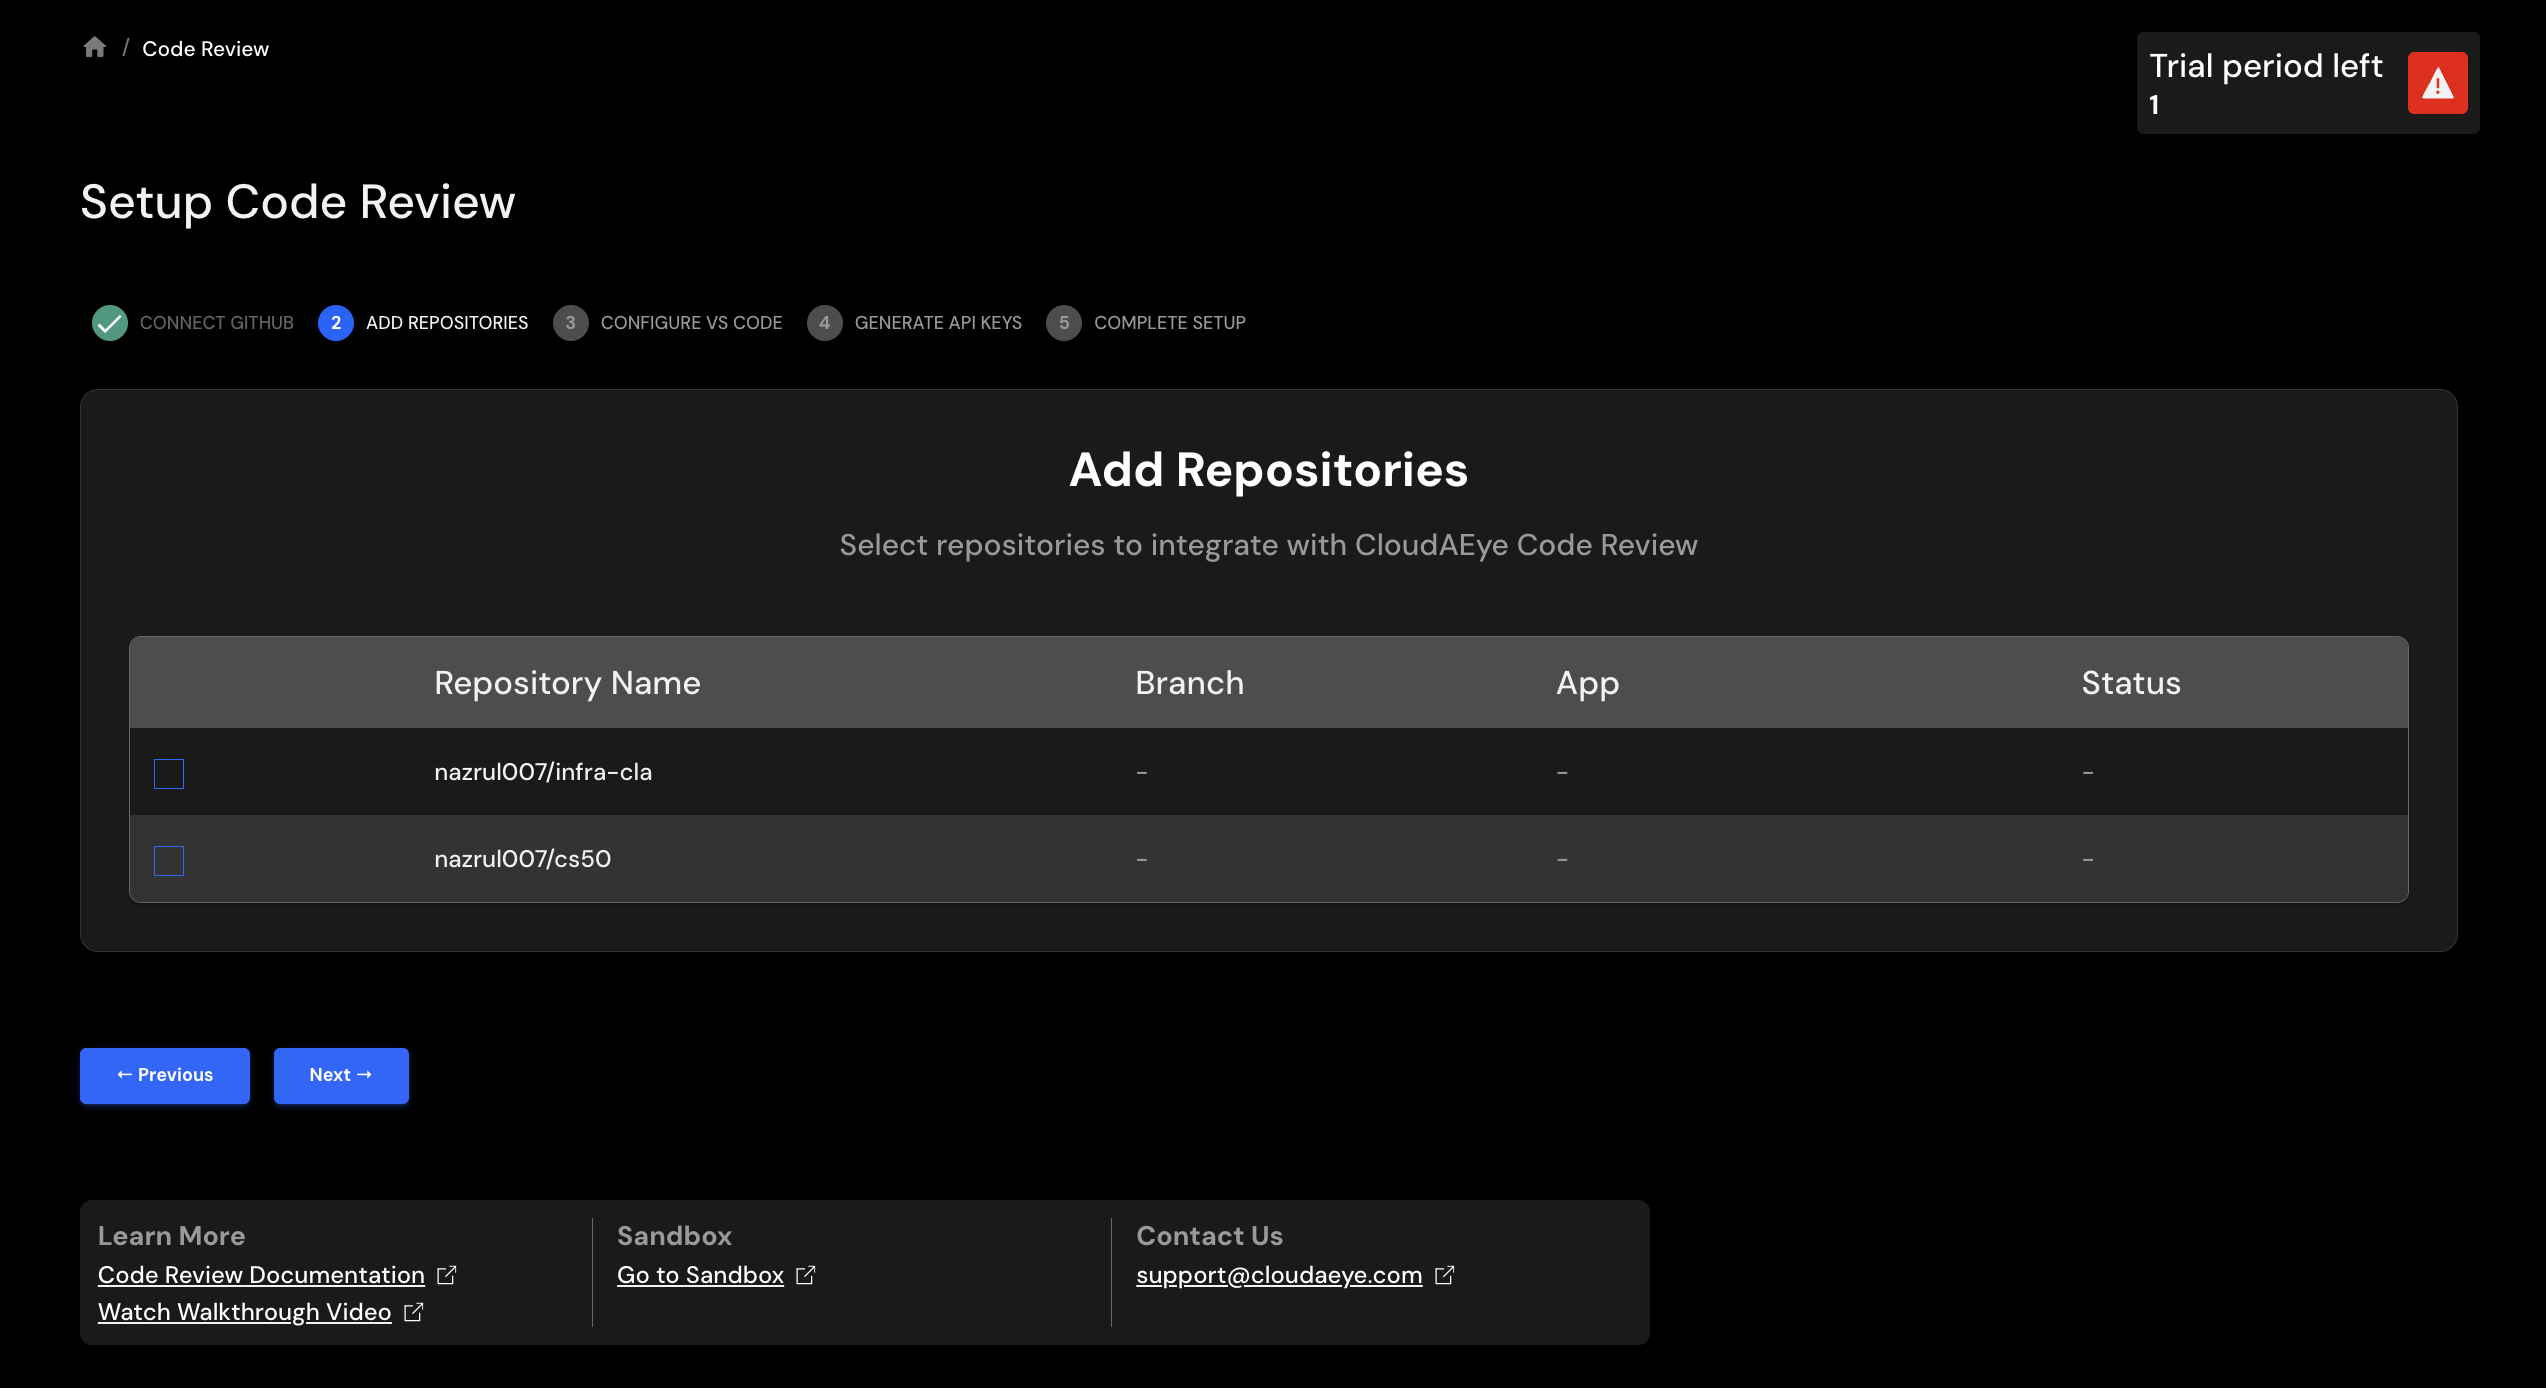
Step 2: Map Repositories
Select the repositories and associated data for all the GitHub repositories.
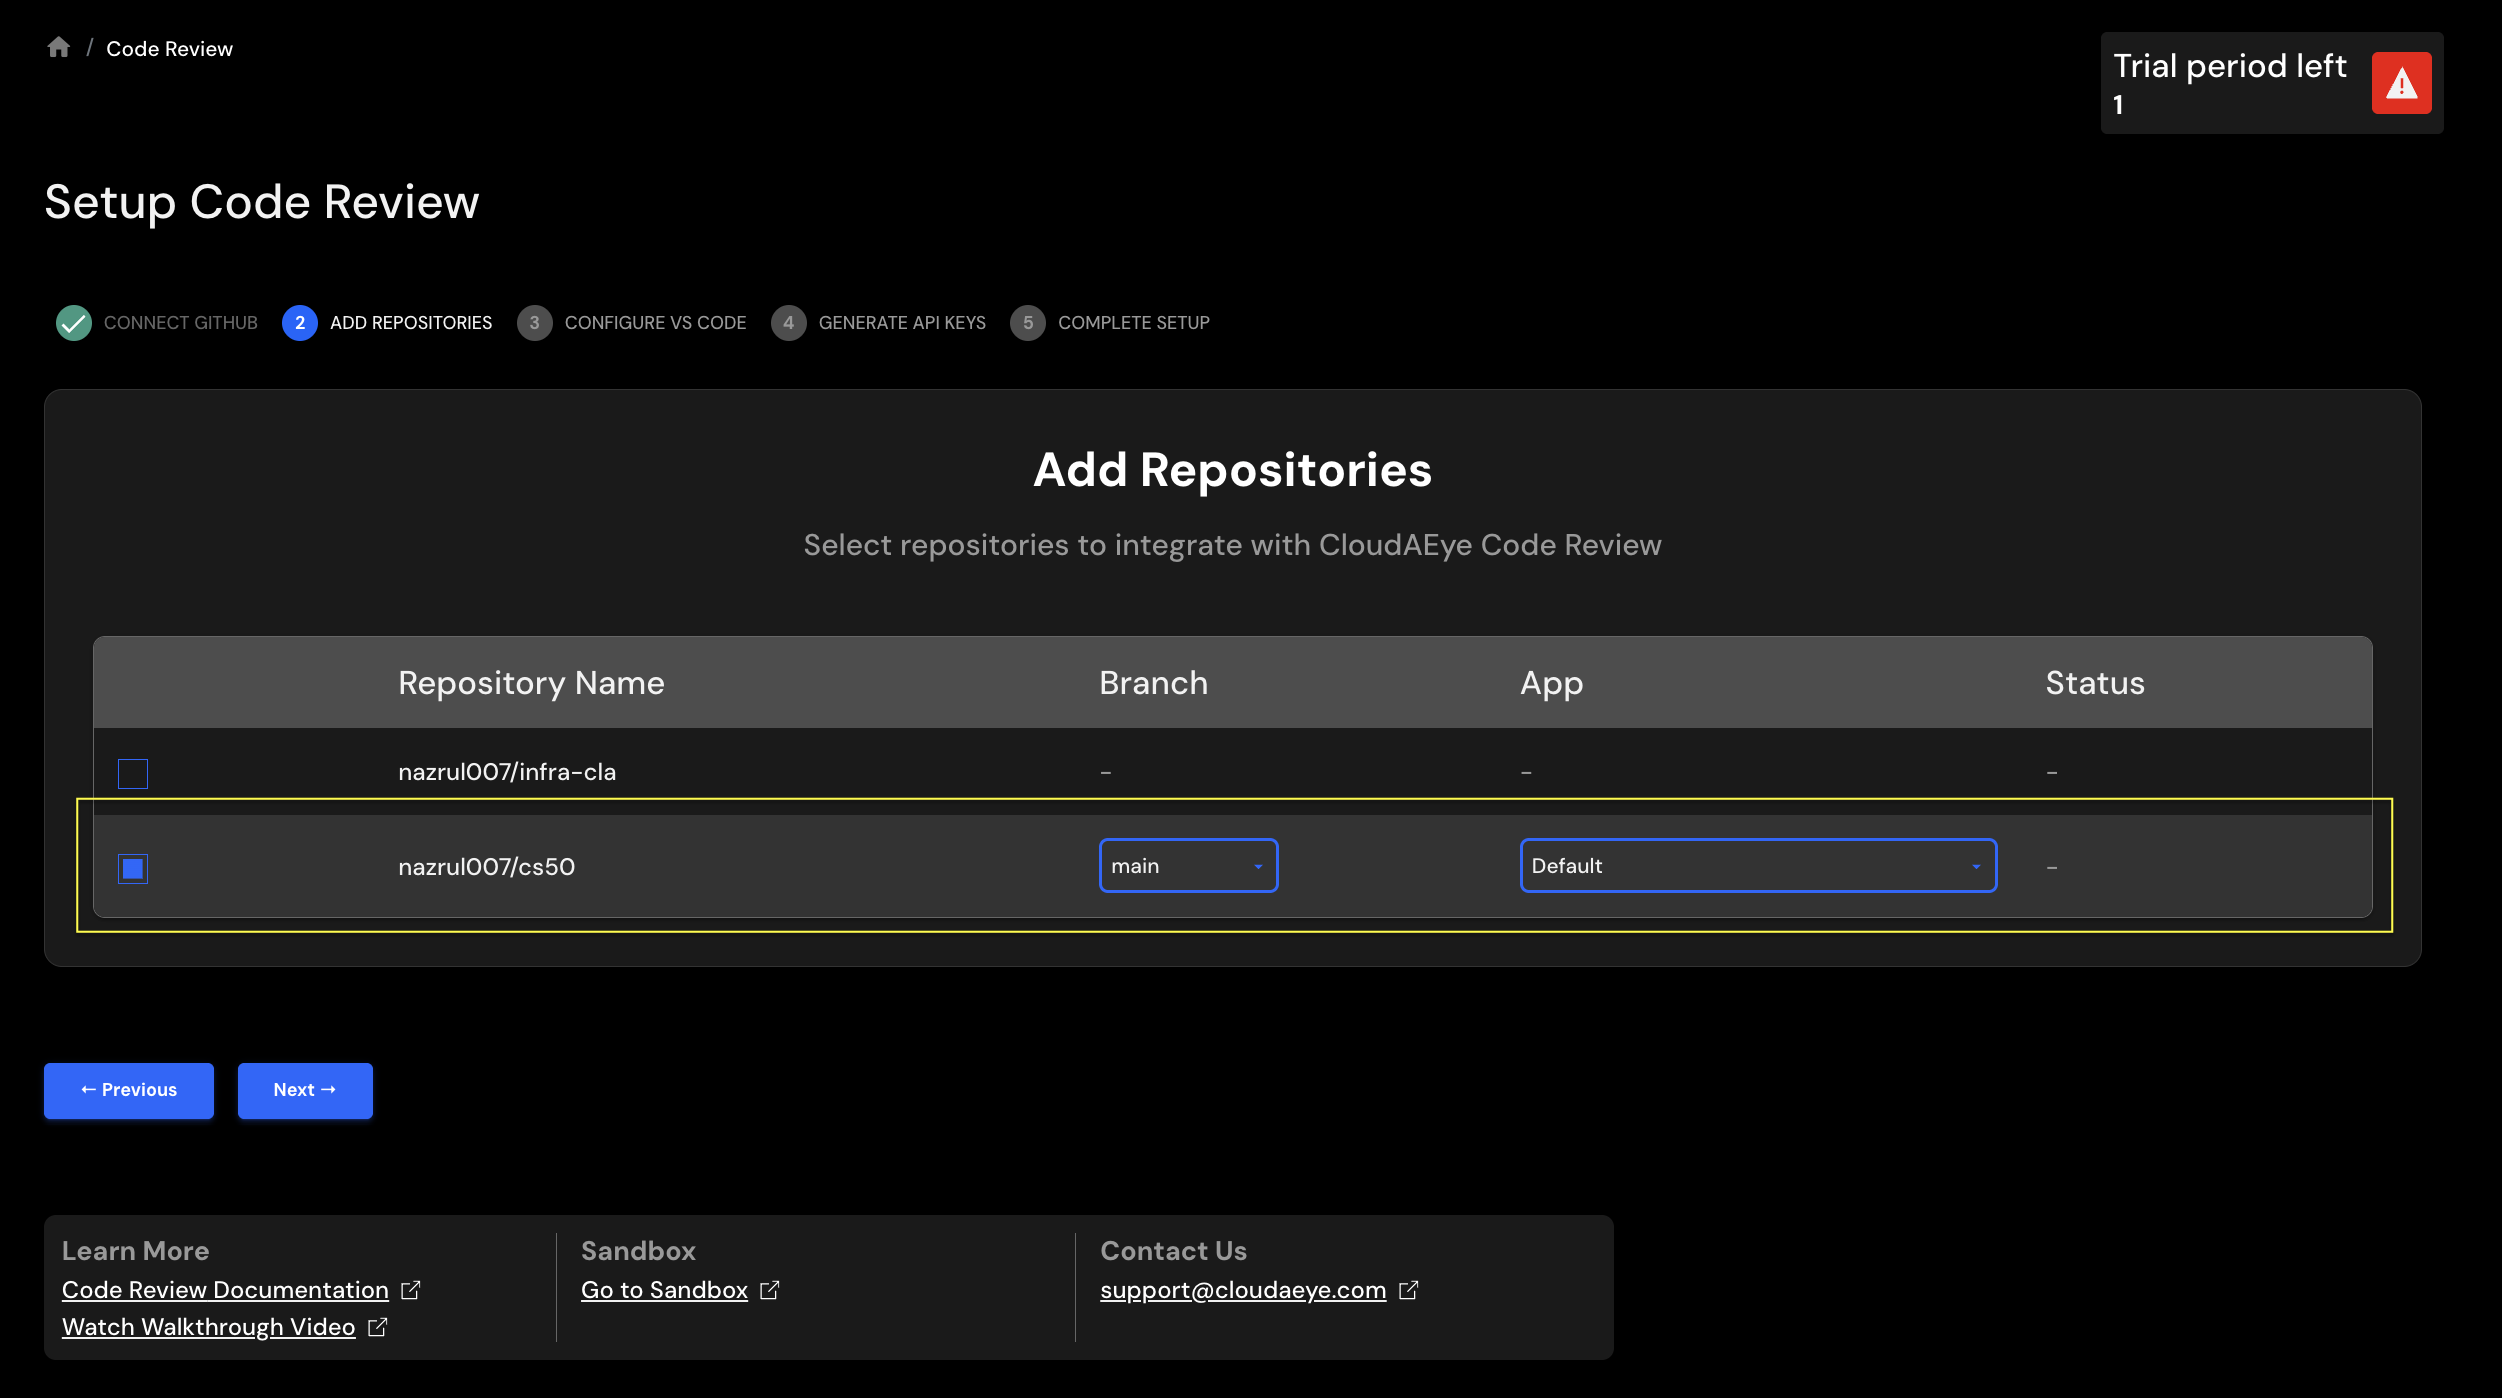
- Repository Name: Name of the repository that are part of your application.
- Branch: From the drop-down menu, select the code branch. This will be used to scan the code base.
- App Name: Provide your application's name. You may select an existing application name from the drop down or add a new application name. For example,
SockShop.
Click on Next button to comple GitHub repository mapping.
Edit GitHub Repo Integration
From the left navigation, select Integrations page.
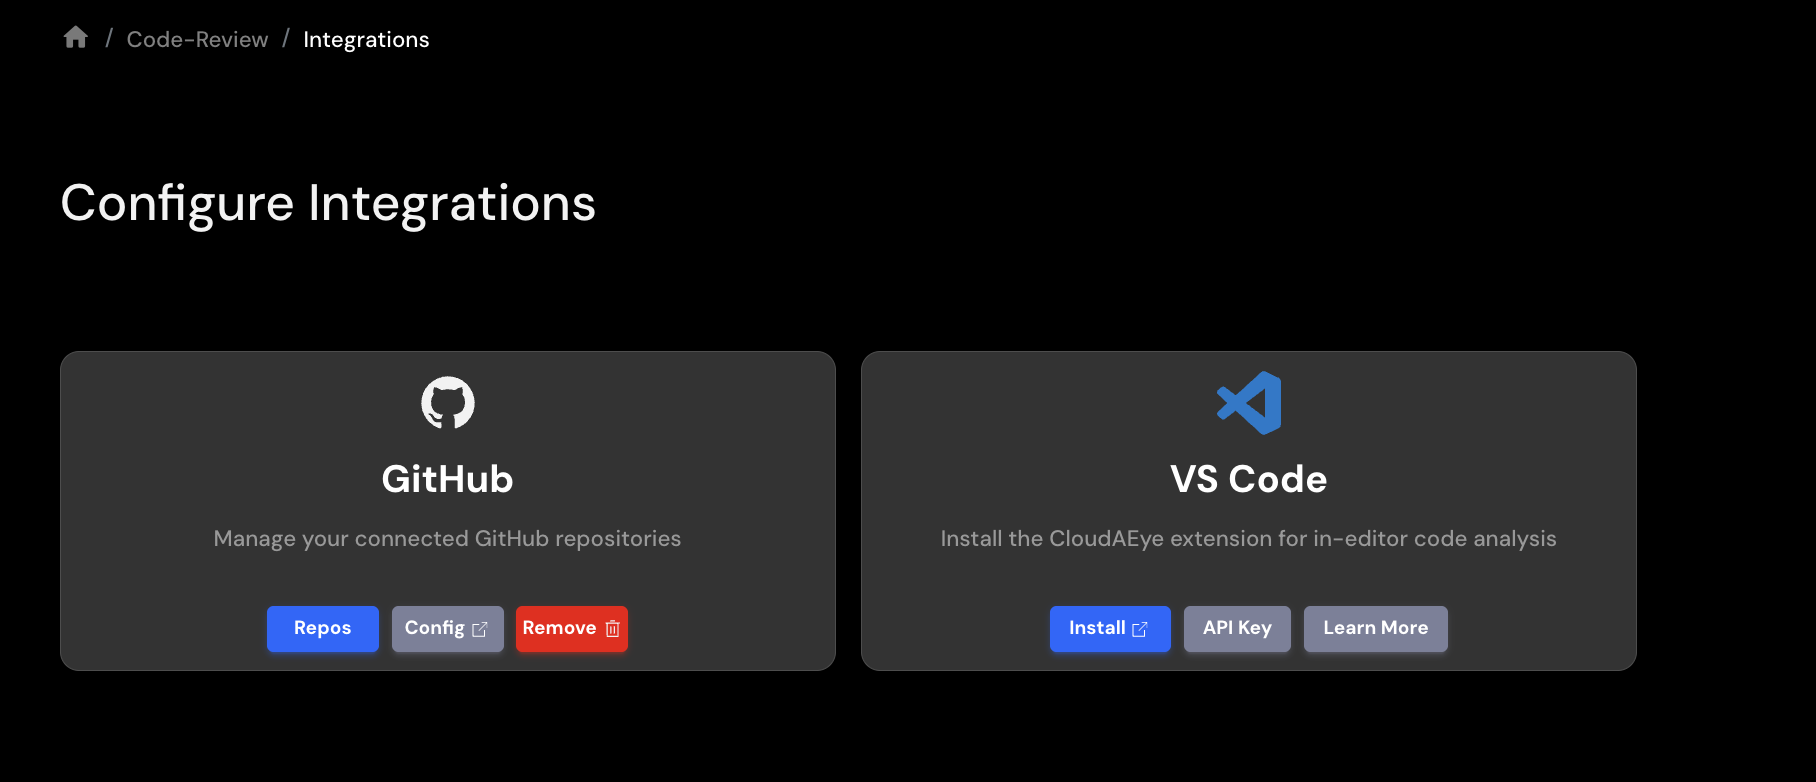
Click on Repos button for GitHub. You will see a list of GitHub repositories.

You may select and update the branch, app name and unit test settings information for each GitHub repository.
Click "Save" button to save your changes.
Remove GitHub Repo Integration
From the left navigation, select Integrations page.
Click on Repos button for GitHub. You will see a list of GitHub repositories.
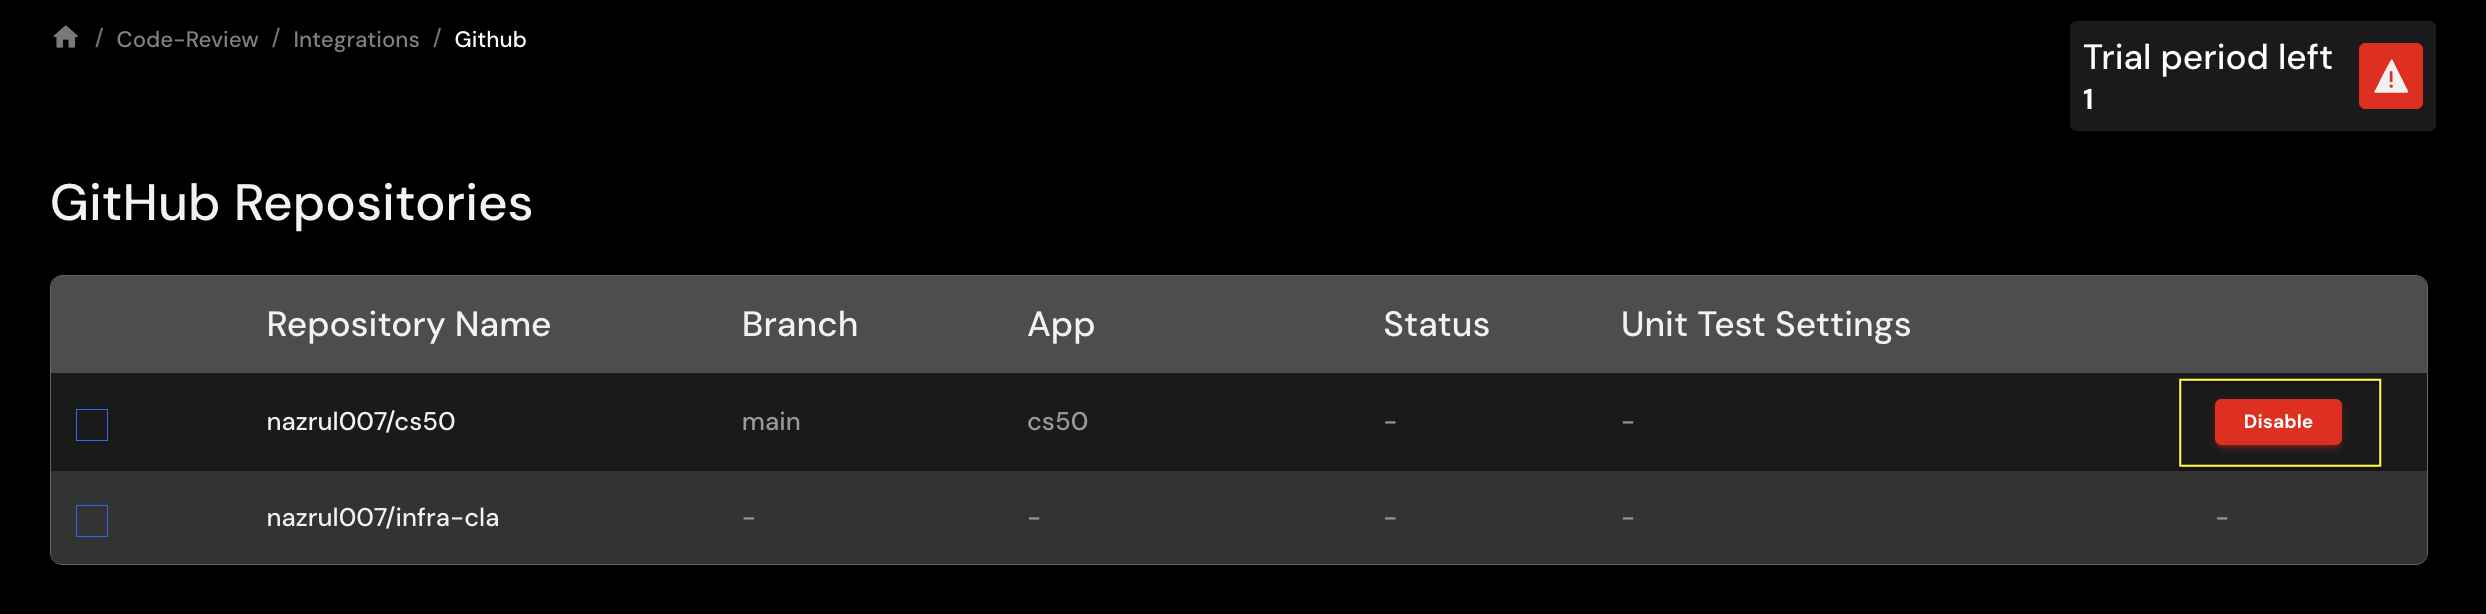
When you click on the Disable button for a specific repository, you will see a confirmation page like the following:

Click on the Disable button again to confirm.
For any further queries or additional information, please explore our Support Page or contact our team directly at support@cloudaeye.com.