Code Documentation Generation
This guide explains how CloudAEye performs automated code documentation generation.
Overview
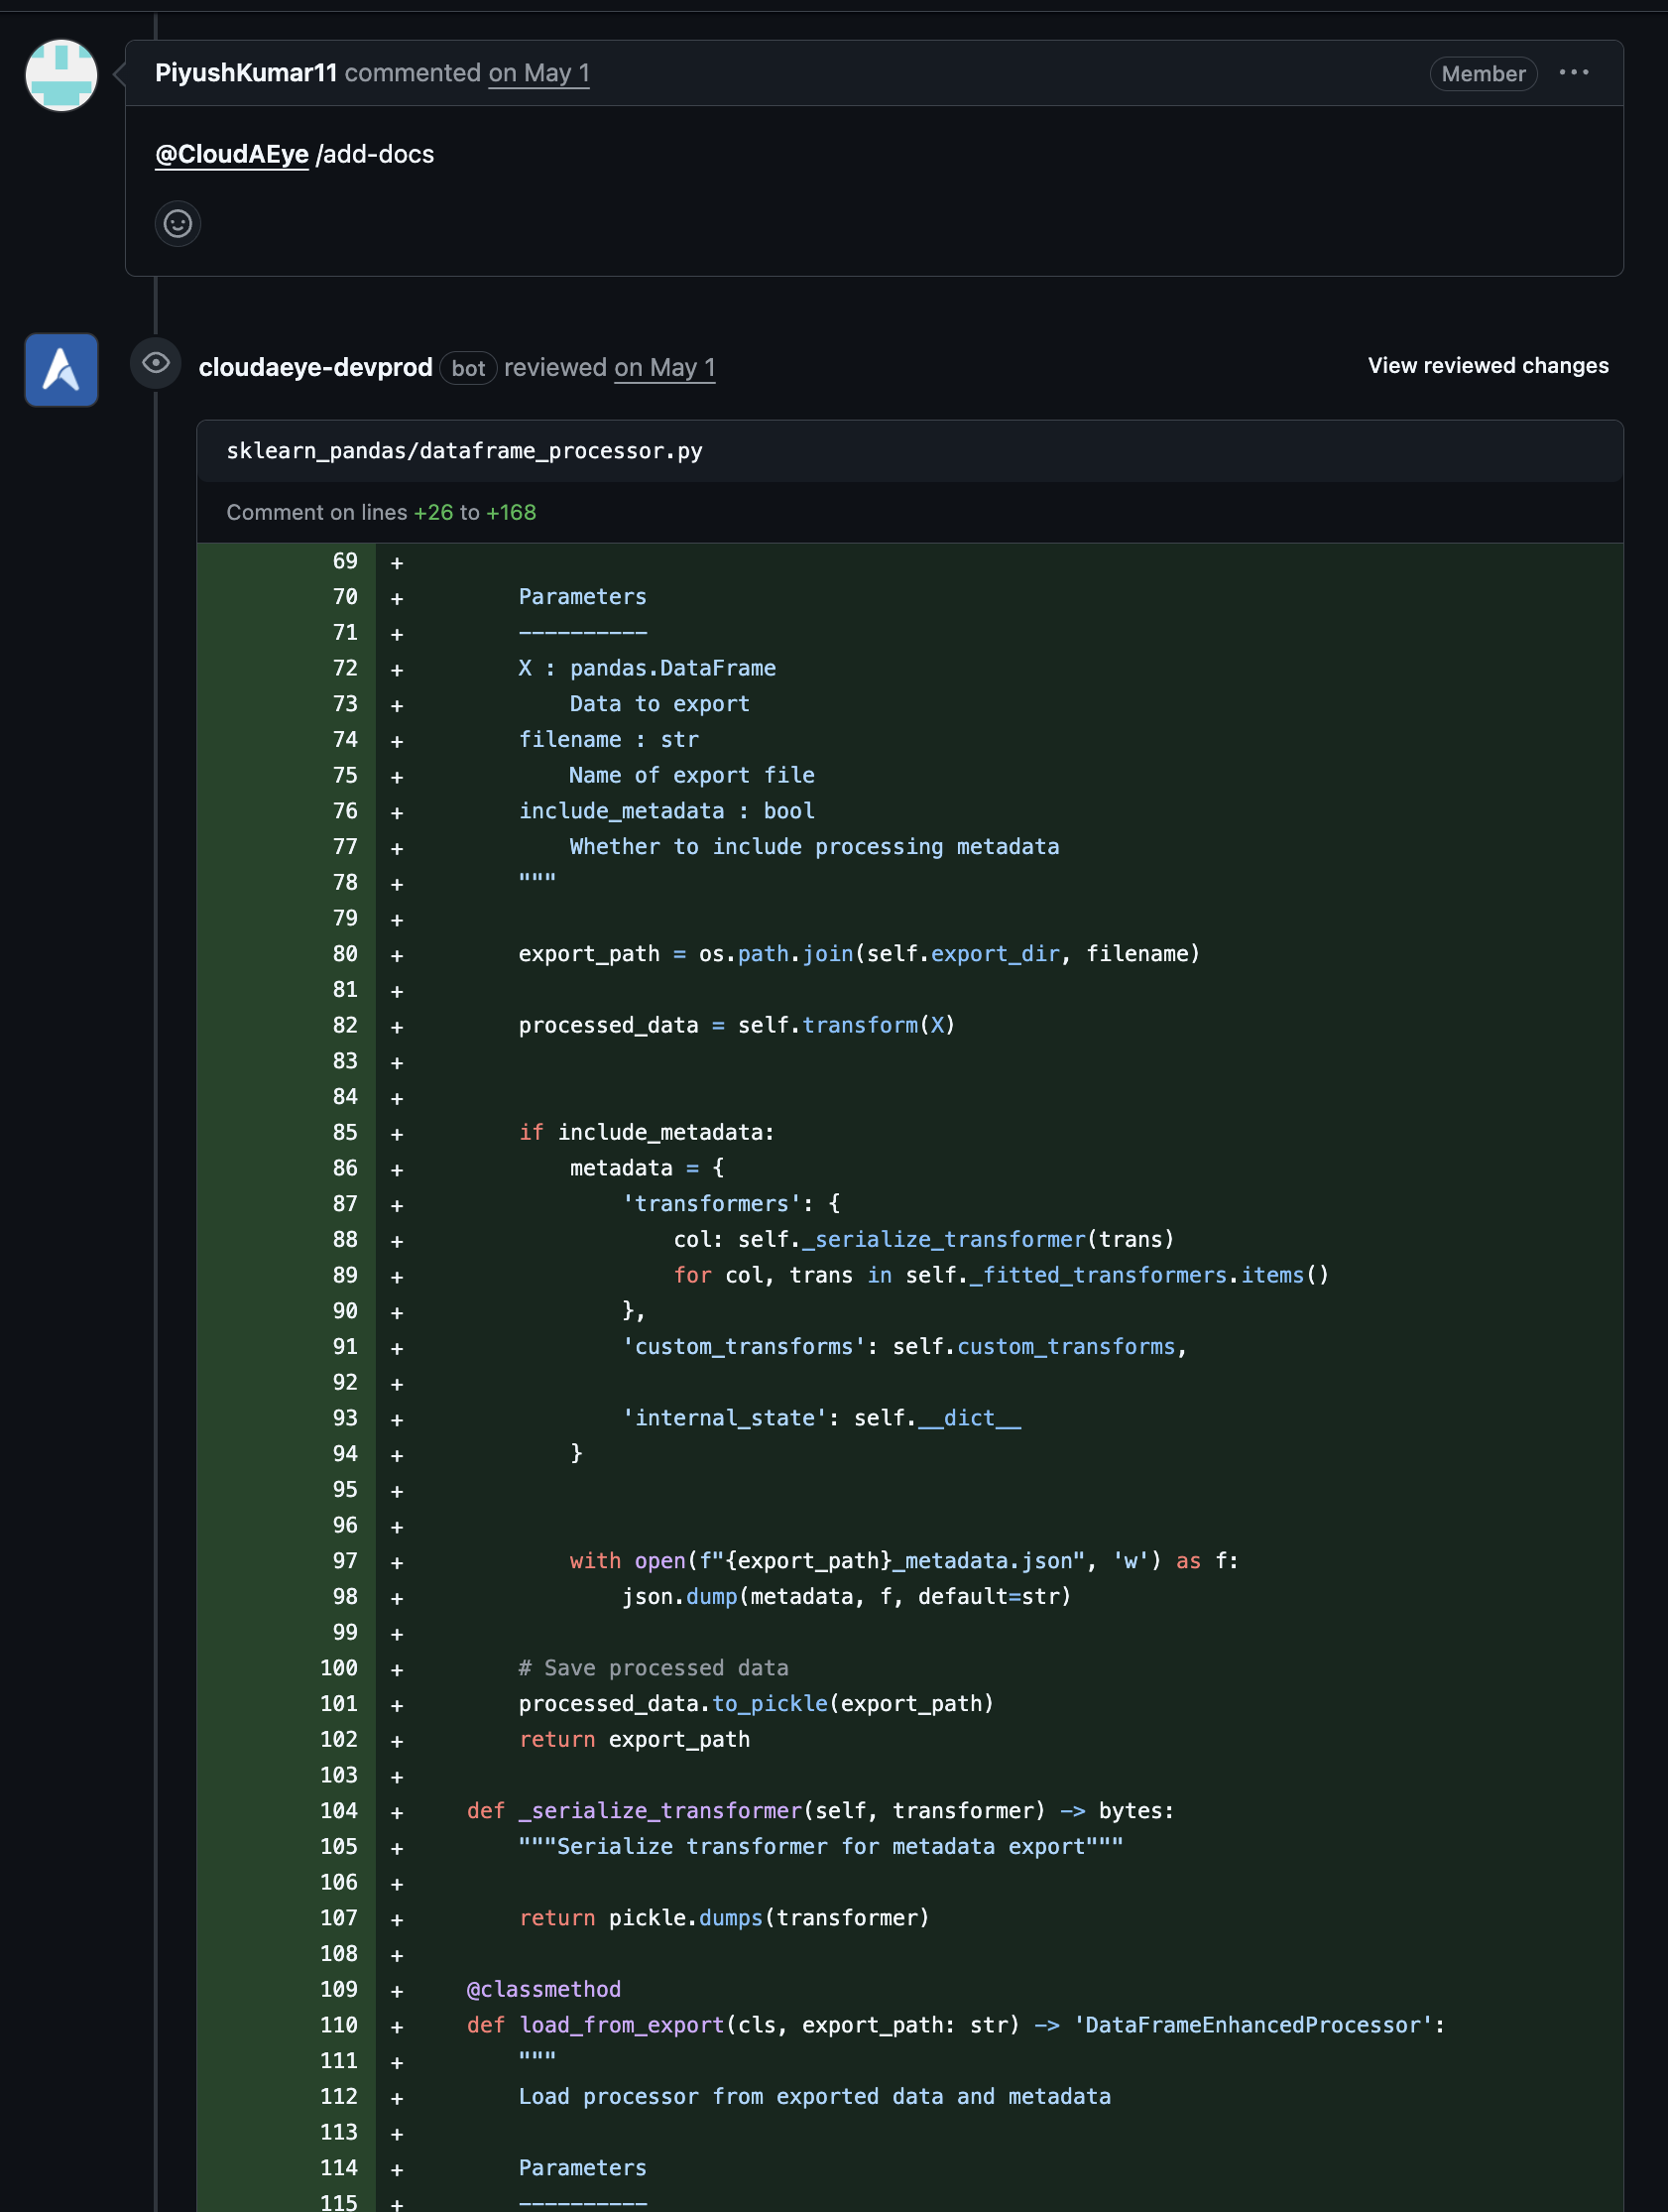
CloudAEye assists in automatically generating missing code documentation. This feature is initiated by commenting @cloudaeye /add_docs in your Pull Request (PR) timeline. The system then automatically generates missing documentation for all the code and produces the output as a code diff suggestion that the user can modify and accept when satisfied.
This process significantly speeds up the tedious task of documentation generation and provides high-quality, precise yet succinct, and relevant documentation for all of your code.
Prerequisites
To use CloudAEye's test generation features, the following prerequisites must be met:
Step 1: Register
Sign up with CloudAEye SaaS.
Step 2: Setup Code Review
Setup Code Review by following the Getting Started guide.
Initiate Code Documentation Generation
To initiate code documentation generation for your connected repository, simply comment @cloudaeye /add_docs in your Pull Request (PR) timeline. The system will then automatically generate missing documentation for all the code.
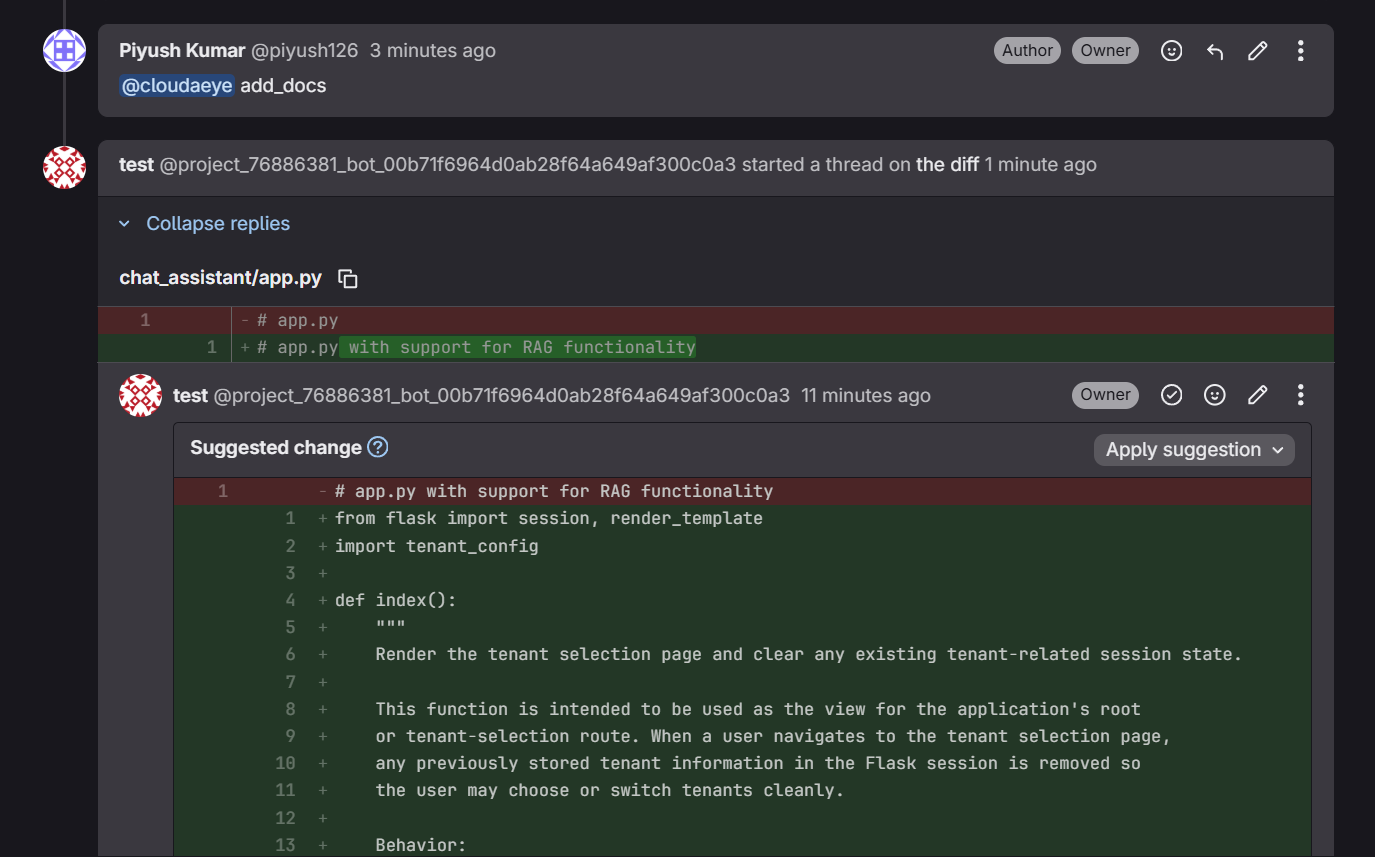
Here is an example from GitLab environment.
Features and Benefits
CloudAEye's code documentation generation offers several key advantages:
- Automated Suggestion: The system produces the generated documentation as a code diff suggestion. This allows you to easily review, modify, and accept the documentation directly within your workflow when satisfied.
- Speeds up Documentation: This feature significantly speeds up the often tedious and time-consuming process of manually generating code documentation.
- High Quality and Precision: CloudAEye aims to provide high quality, precise yet succinct, and relevant documentation for all of your code, enhancing maintainability and understanding.
How Do I Use the IDE Plugin to Generate Documentation?
Refer to VS Code: Generate Code Docs page to learn more.