User Profile
Overview
This topic describes how to update your CloudAEye SaaS (Software-as-a-Service) profile.
Profile
Click on the image on the top right corner and select View Profile from the menu. You will see the profile page.

Under Profile tab, you may update the following information.
Profile - Basic Details
- First Name - Your first name.
- Last Name - Your last name.
- Gender - Your gender.
- Birthdate - Your date of birth.
Profile - Contact Details
- Email - Your work email address.
- Phone - Your phone number.
- Location - Your location.
- Linkedin - Your LinkedIn profile url. For example, https://www.linkedin.com/in/nazislam/
Job Details
- Job title - Your job title at work.
- Department - Name of your department or organization at work.
Company Details
- Company Name - Name of your company. For example, CloudAEye.
- Website - URL of your company. For example, www.cloudaeye.com
- Phone - Phone number of your company.
- Company Size - Number of people currently employed by your company.
- Industry - Sector or industry where your company is currently focusing on.
User Roles
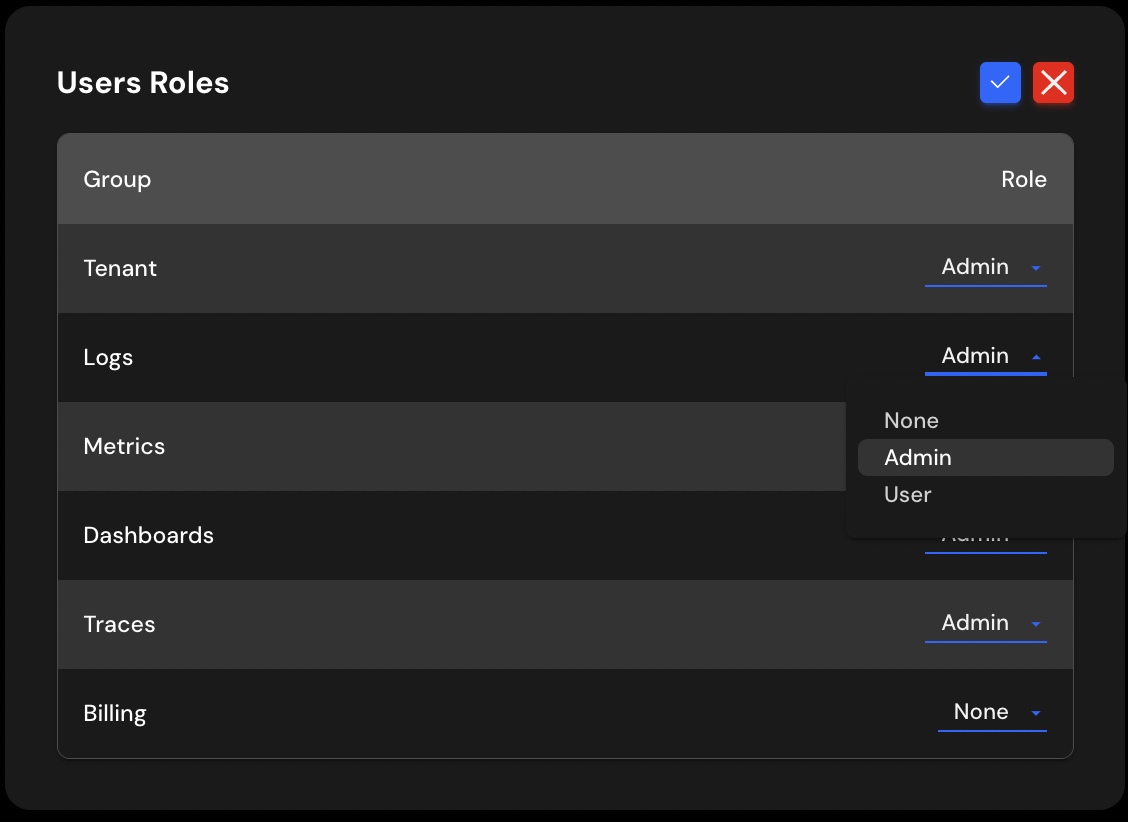
This table shows your current roles in CloudAEye SaaS. Tenant Administrator may update the role by clicking on the pencil icon.

Security - Change Your Password
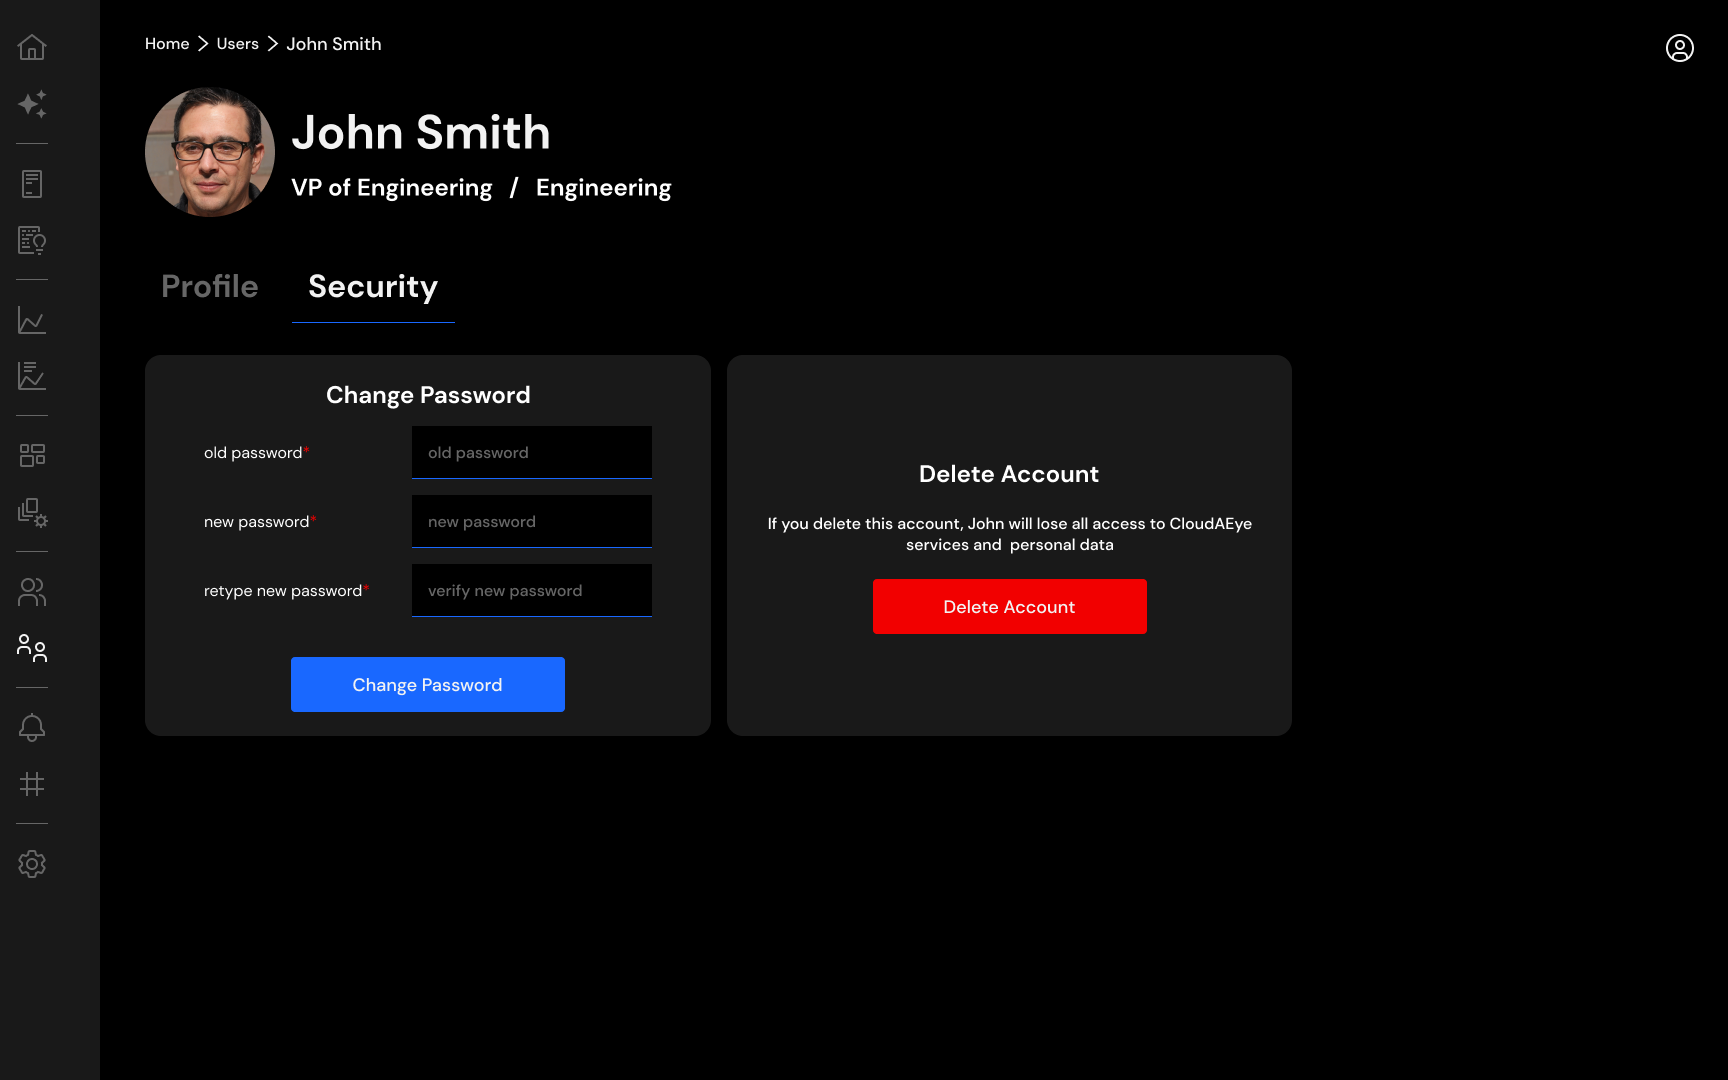
Under Security tab, you may change your password.

- Password - Enter your current password.
- New Password - Enter your new password. Please read this article to setup strong passwords.
- Retype New Password - Enter your new password again.
Delete Account
You may delete your account by clicking the Delete Account button.
Before You Delete
- Please beware that, you will loose your access to CloudAEye SaaS if you delete your account.
- If you are the only tenant administrator for your account, you must assign the 'Tenant Administrator' role to another person to ensure proper continuity of the account management.