Create Tracking Issues
This guide explains how to create a Jira or GitHub issue from a CloudAEye code review comment.
Overview
CloudAEye can turn a code review finding into a tracking issue in either Jira or GitHub Issues. You select the destination in the command and can optionally assign the new issue.
The command must be posted as a reply to the CloudAEye review comment you want to track.
Prerequisites
Step 1: Register
Sign up with CloudAEye SaaS.
Step 2: Set Up Code Review
Set up Code Review by following the Getting Started guide.
To create Jira issues, you must also configure a Jira integration for your CloudAEye installation. GitHub issues are created in the repository containing the pull request.
Create a Tracking Issue
In the pull request, find the CloudAEye review comment you want to track and reply using one of the following formats.
Jira
@cloudaeye /create_issue jira
To assign the issue, add the Jira assignee's display name:
@cloudaeye /create_issue jira <assignee display name>
For example:
@cloudaeye /create_issue jira Jane Doe
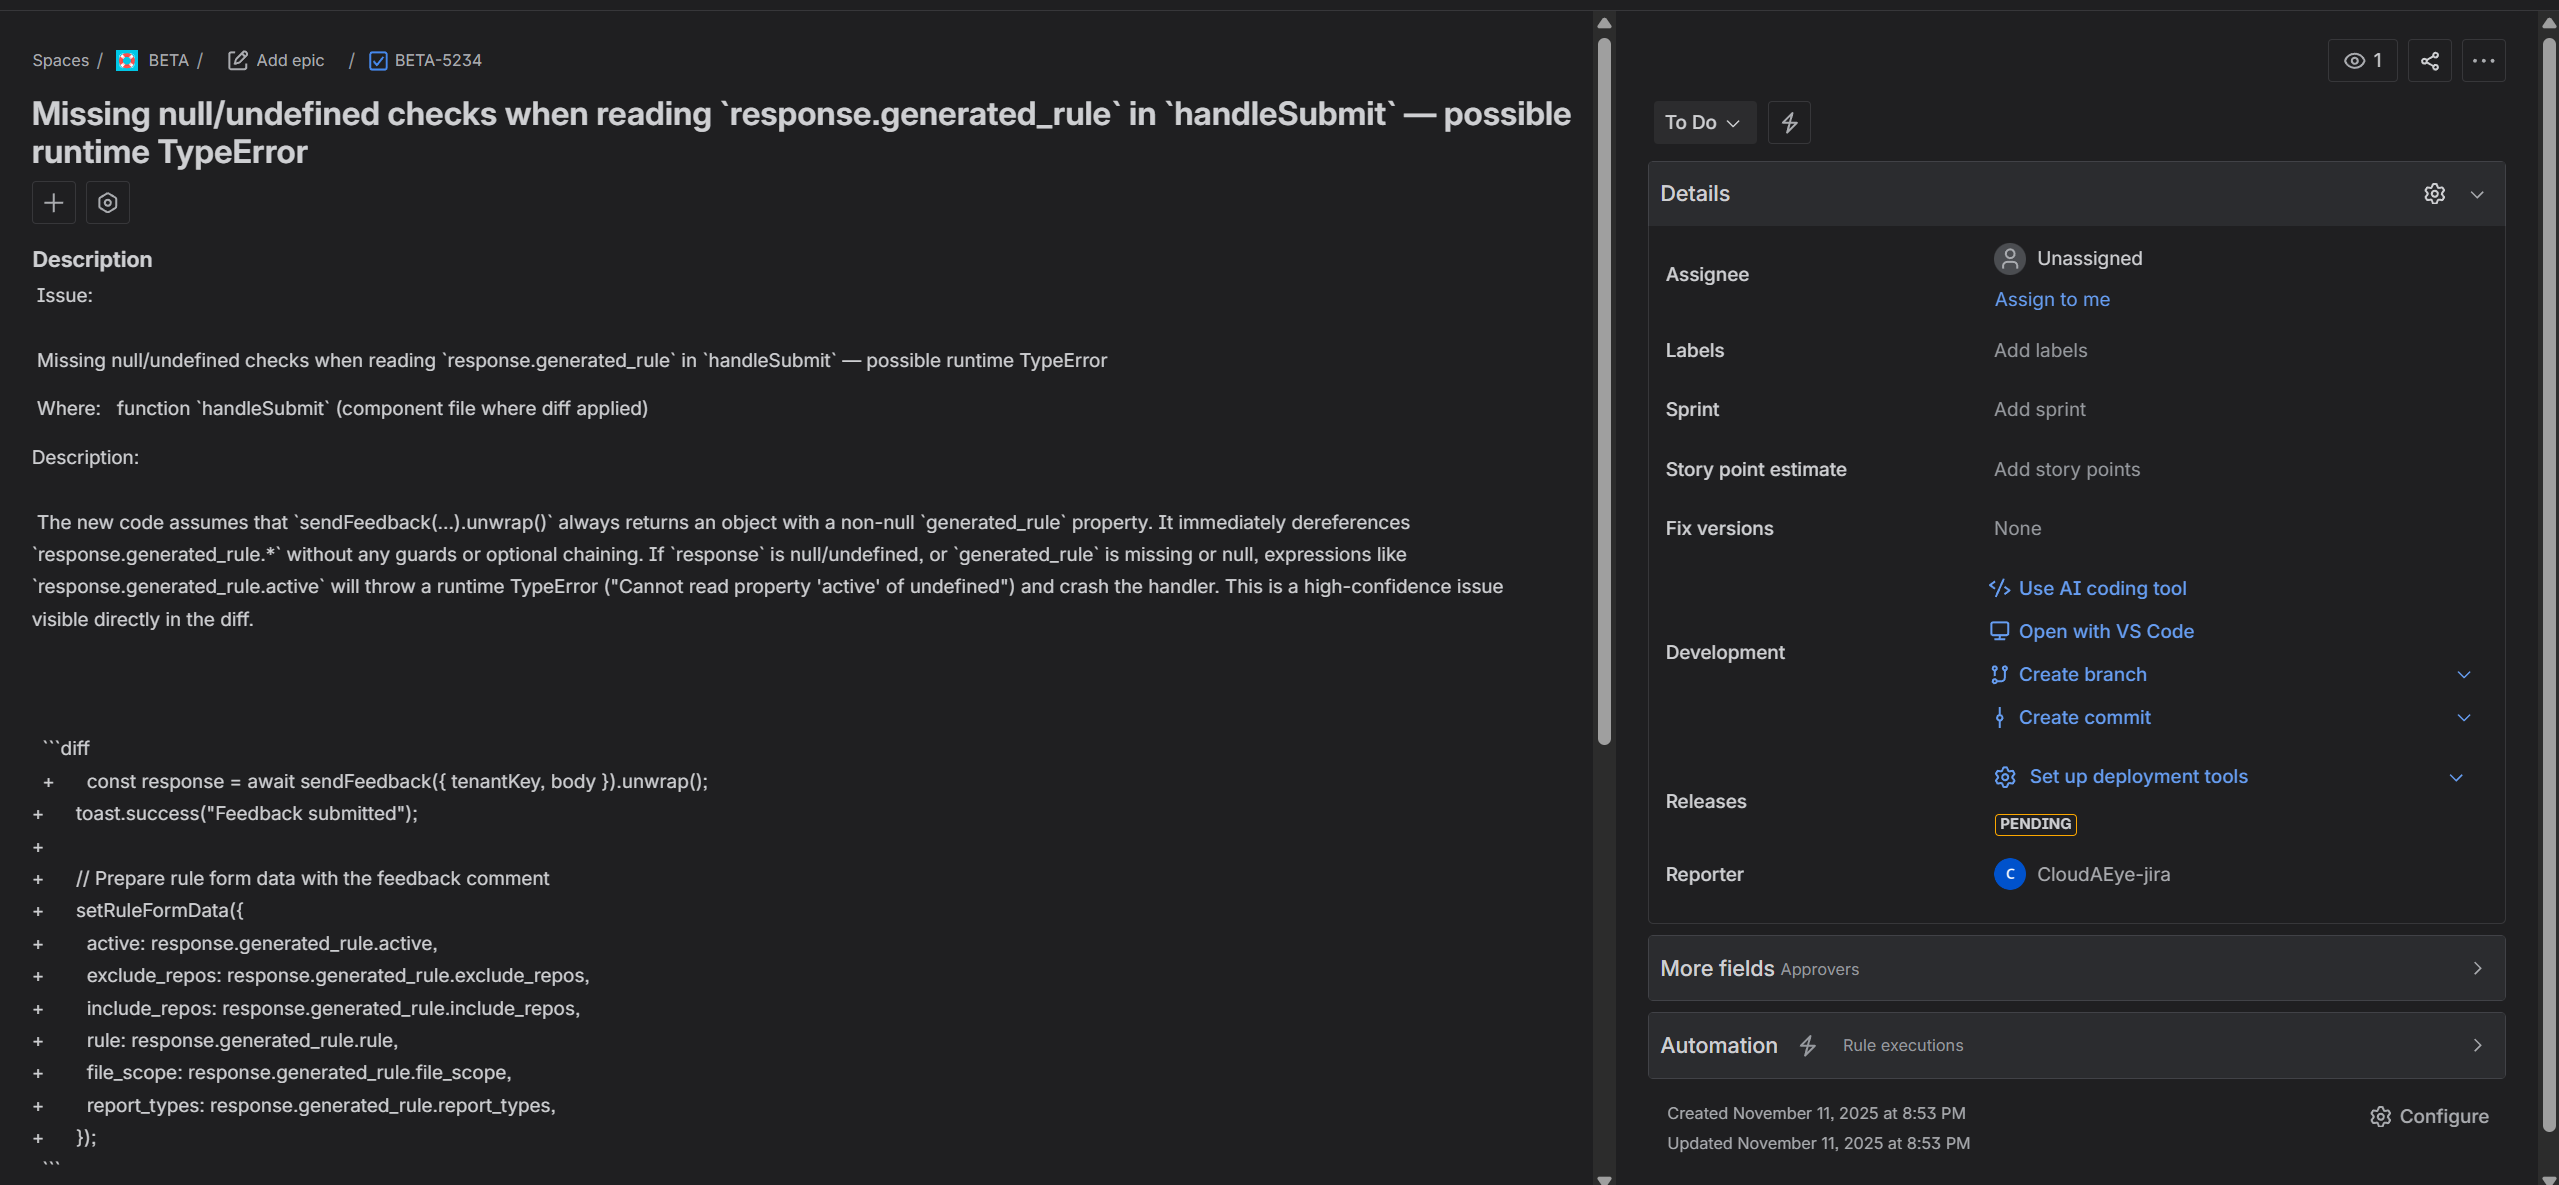
CloudAEye creates the Jira issue using the review finding as the summary and includes the repository, review-comment link, and finding details in the description.
GitHub Issues
@cloudaeye /create_issue github
To assign the issue, add a GitHub username, with or without the @ prefix:
@cloudaeye /create_issue github <github username>
For example:
@cloudaeye /create_issue github @octocat
The assignee must be eligible for assignment in the repository. CloudAEye creates the issue in the repository containing the pull request and replies with a link to the new issue.
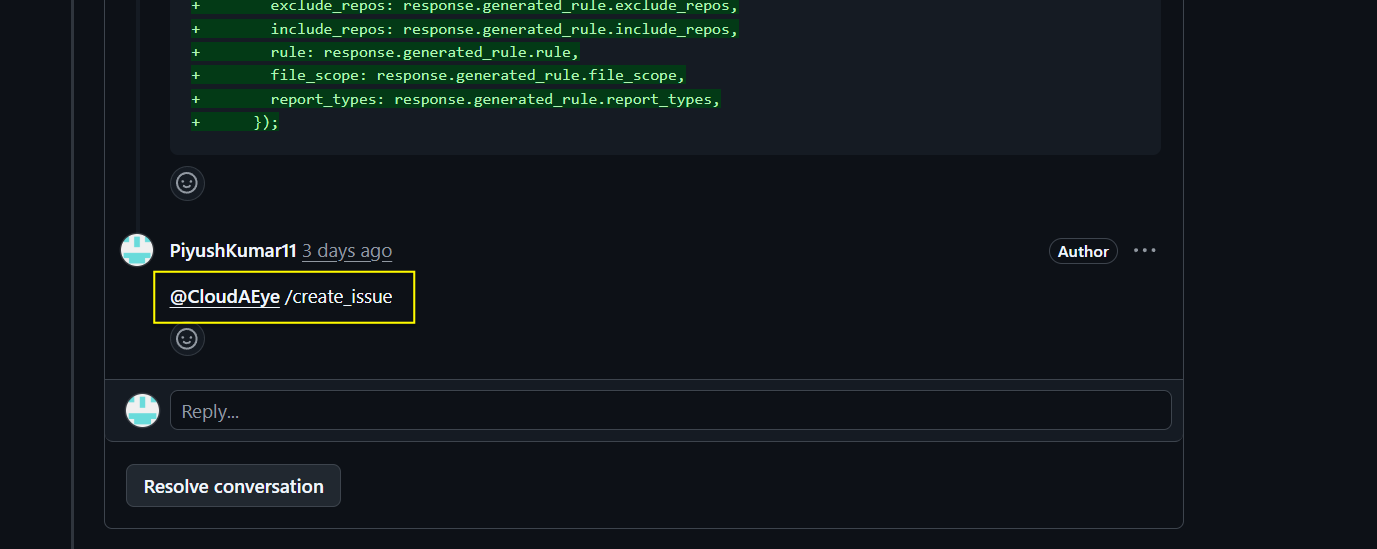
The provider name (jira or github) is required. Commands without a provider, or commands that are not replies to CloudAEye review comments, are rejected.