Creating a Slack Channel
Overview
Integrating CloudAEye with Slack through a notification channel brings real-time system alerts and notifications right to your Slack workspace. This tight integration ensures that critical information reaches your team without delay, fostering immediate action and collaboration. Whether you're monitoring system health, responding to customer inquiries, or tracking key performance indicators, having CloudAEye notifications in Slack enables you to react quickly and efficiently.
In the following steps, you'll learn how to create a Slack notification channel in CloudAEye, allowing you to choose a specific Slack channel to receive these alerts. It’s a straightforward process that will put vital information at your fingertips.
Step 1: Select Slack Option
Click on the Slack option from the Create Notification dropdown on the Channels page. This will lead you to a new page to begin configuring the Slack channel.
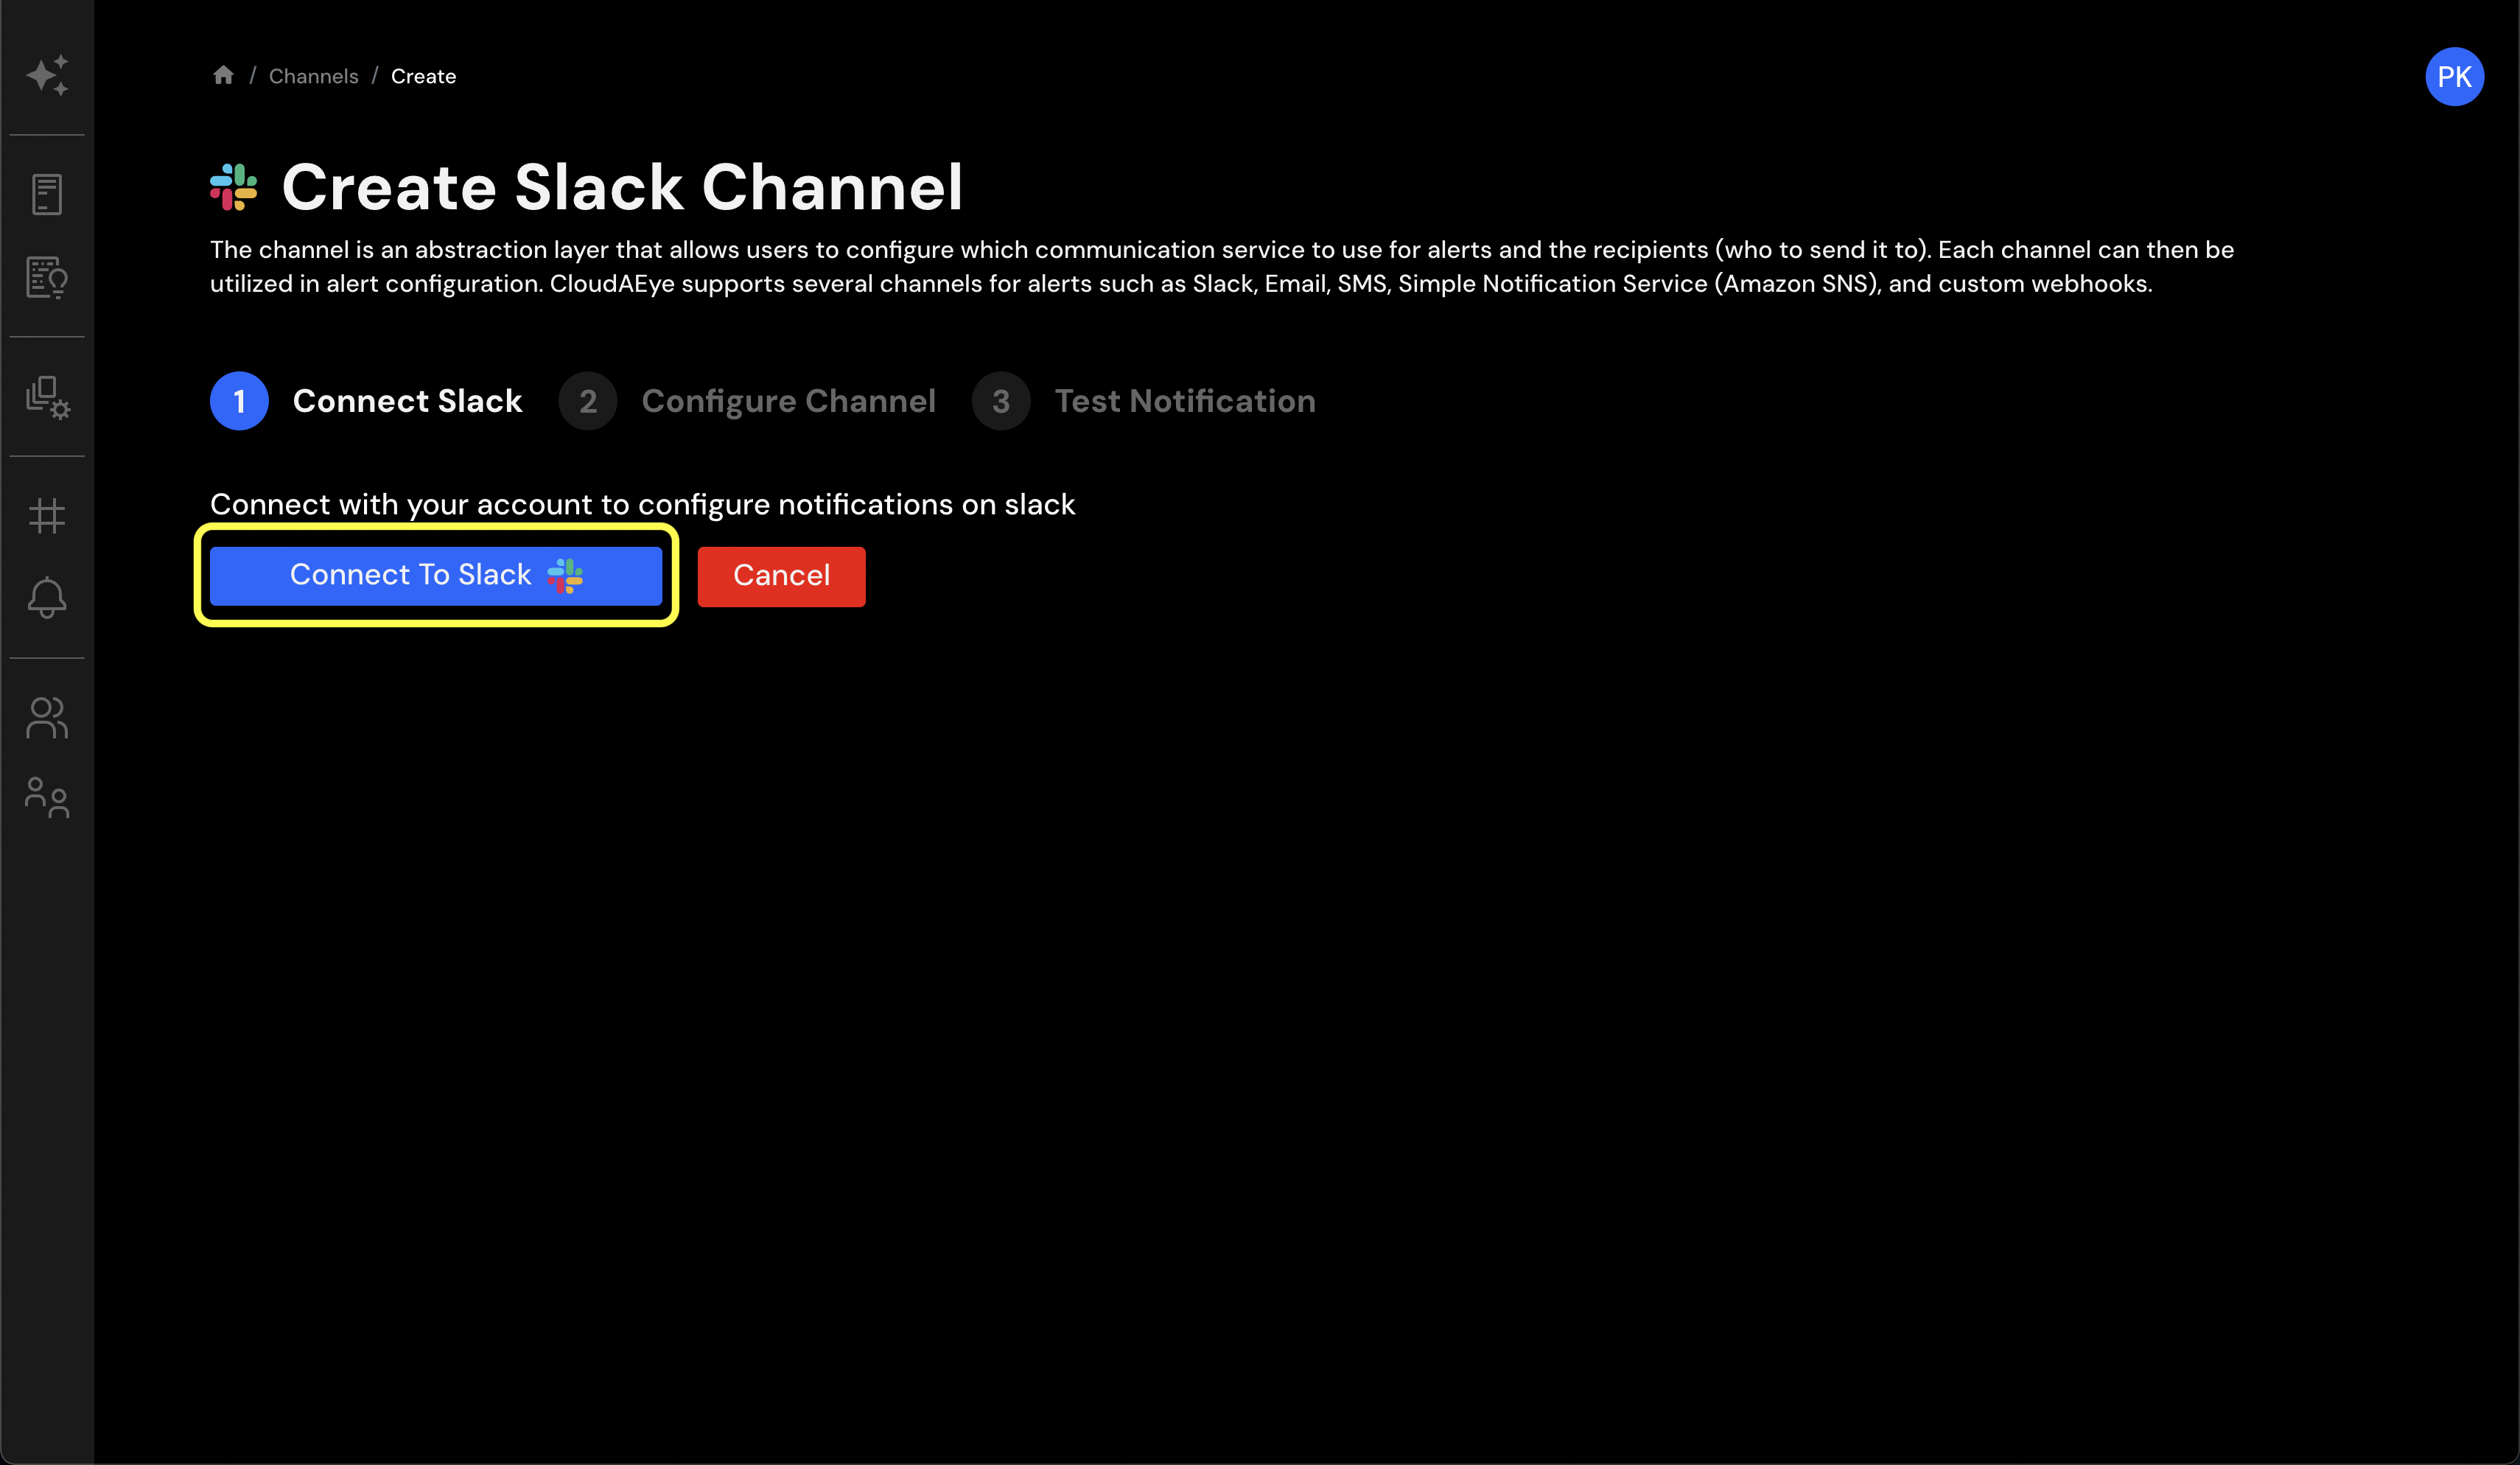
Step 2: Connect to Slack
Click on the Connect to Slack button. You'll be redirected to your Slack account to authorize the connection.
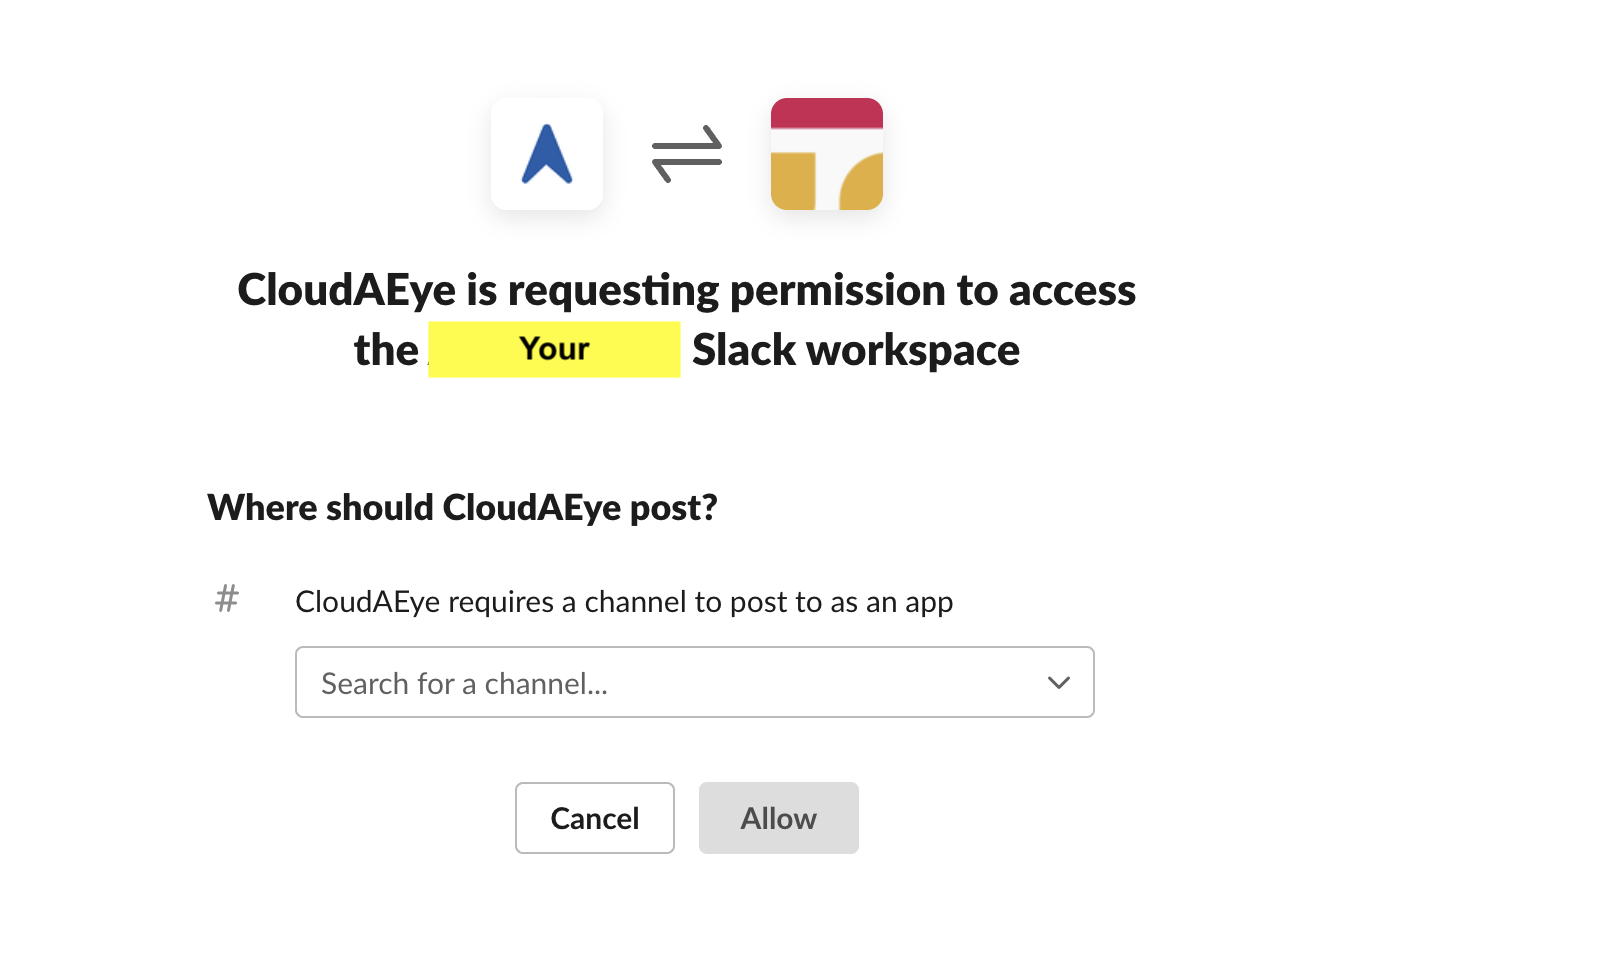
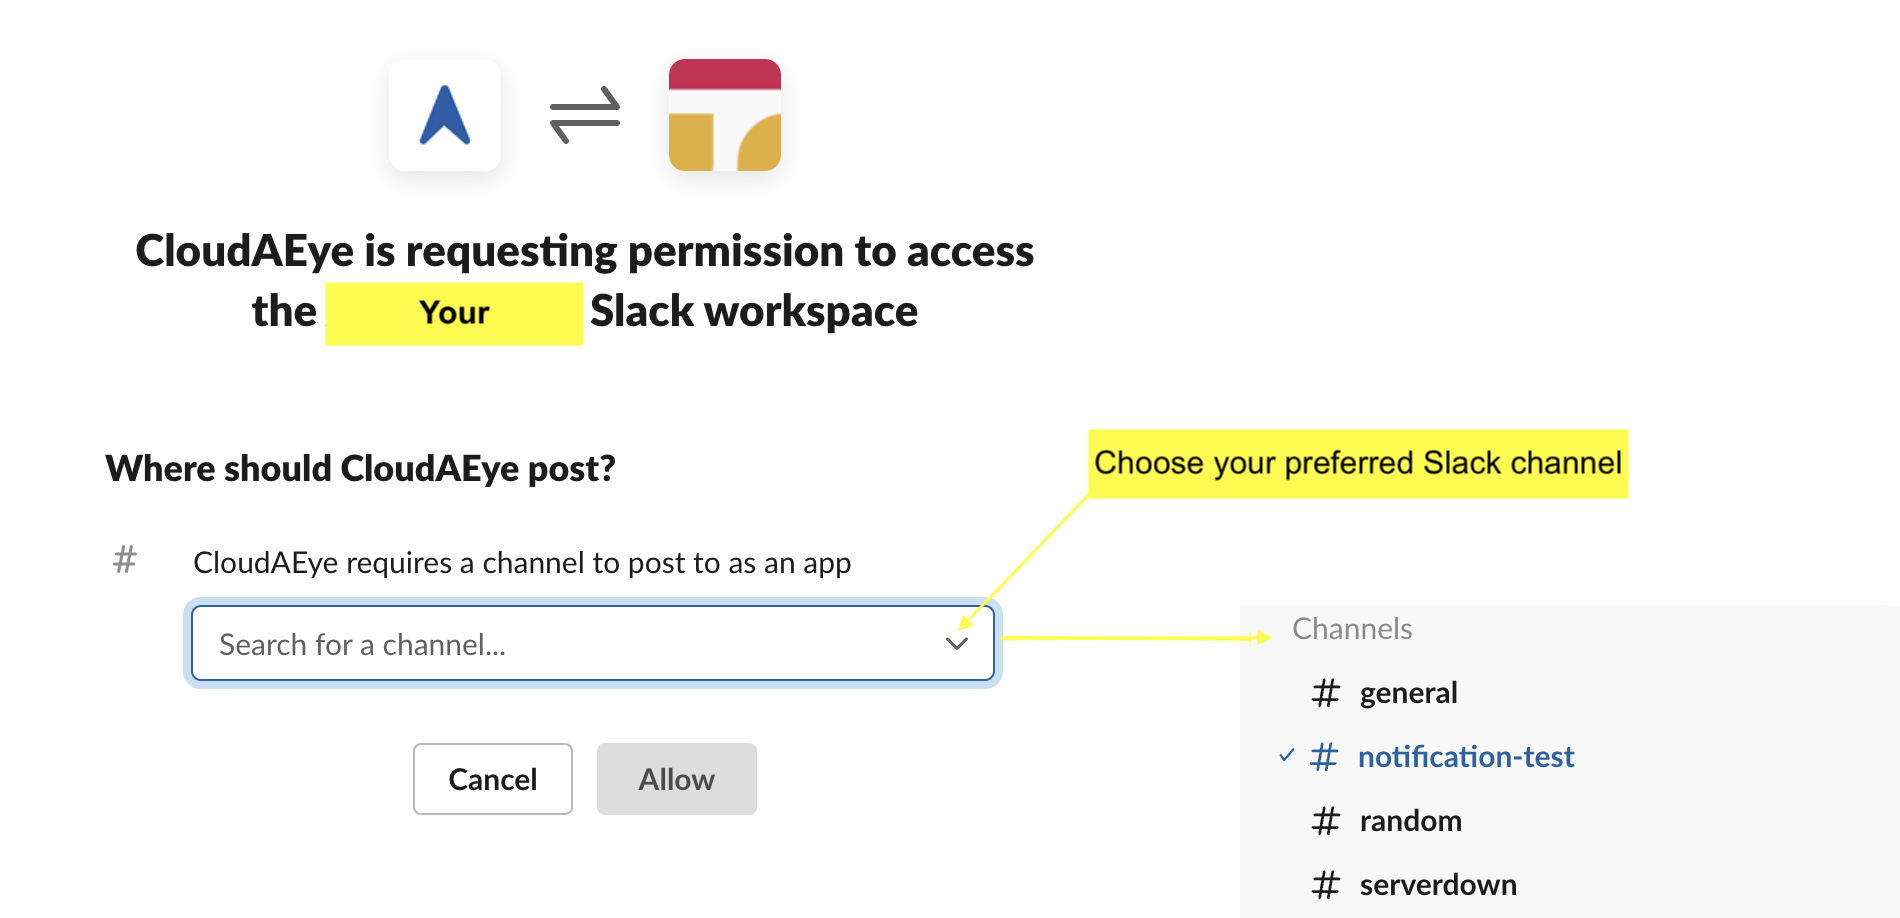
Step 3: Choose Slack Channel
From the dropdown menu within Slack, select the specific channel where you want to receive CloudAEye notifications. Be sure to choose a channel that is relevant to your alerting needs.
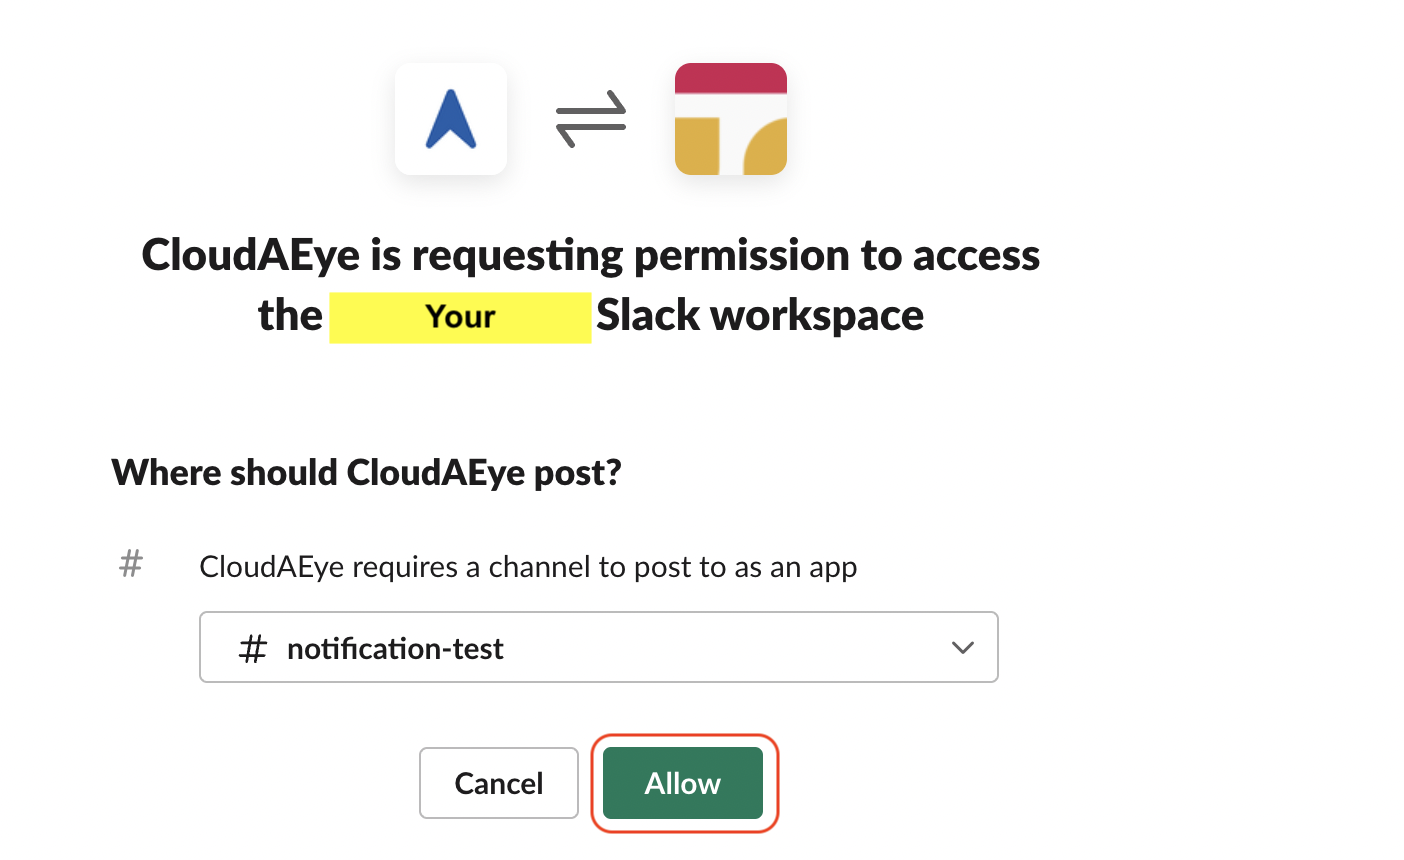
Step 4: Authorize Connection
Finally, click on the Allow button to grant CloudAEye permission to post notifications in your chosen Slack channel.
Success: Slack Channel Configured!
Congratulations! You have successfully configured a Slack notification channel with CloudAEye. The newly added channel will appear at the end of your Channels table, and you can start receiving notifications in Slack right away.
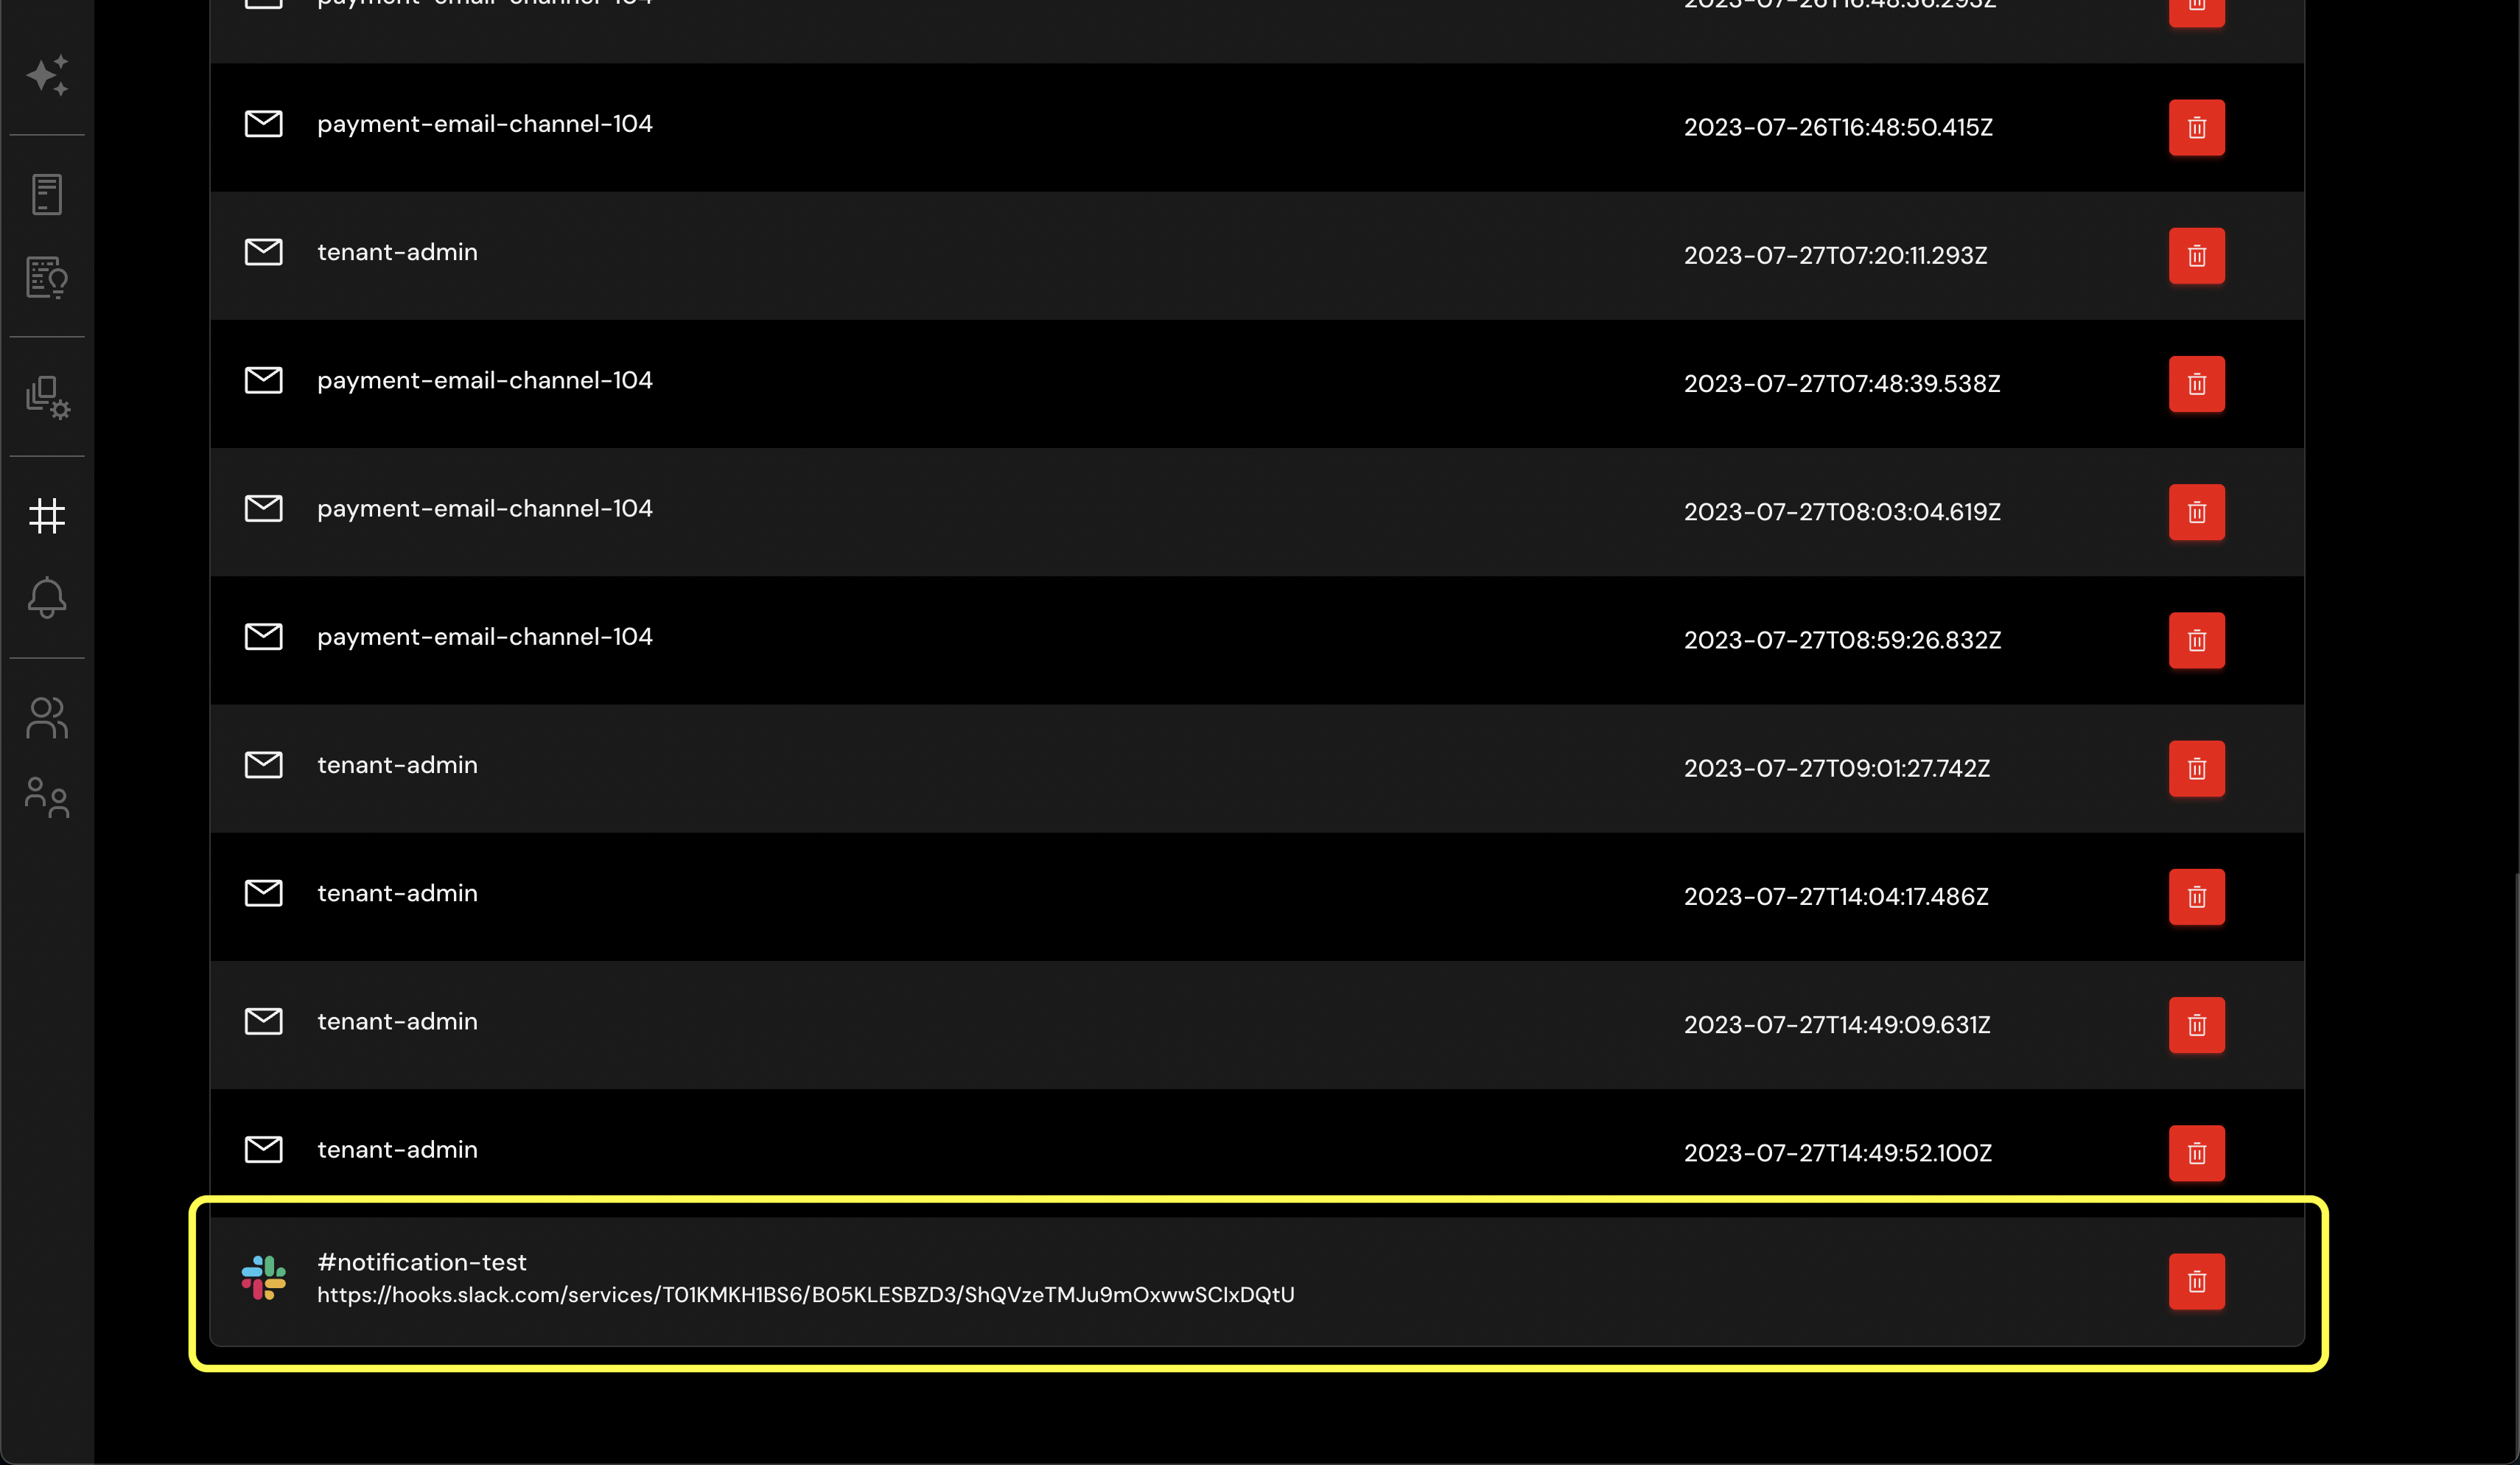
By linking your Slack channel with CloudAEye, you've established a convenient and efficient way to stay in sync with your system's vital alerts. If you need to delete this channel in the future, you can do so from the Channels page.