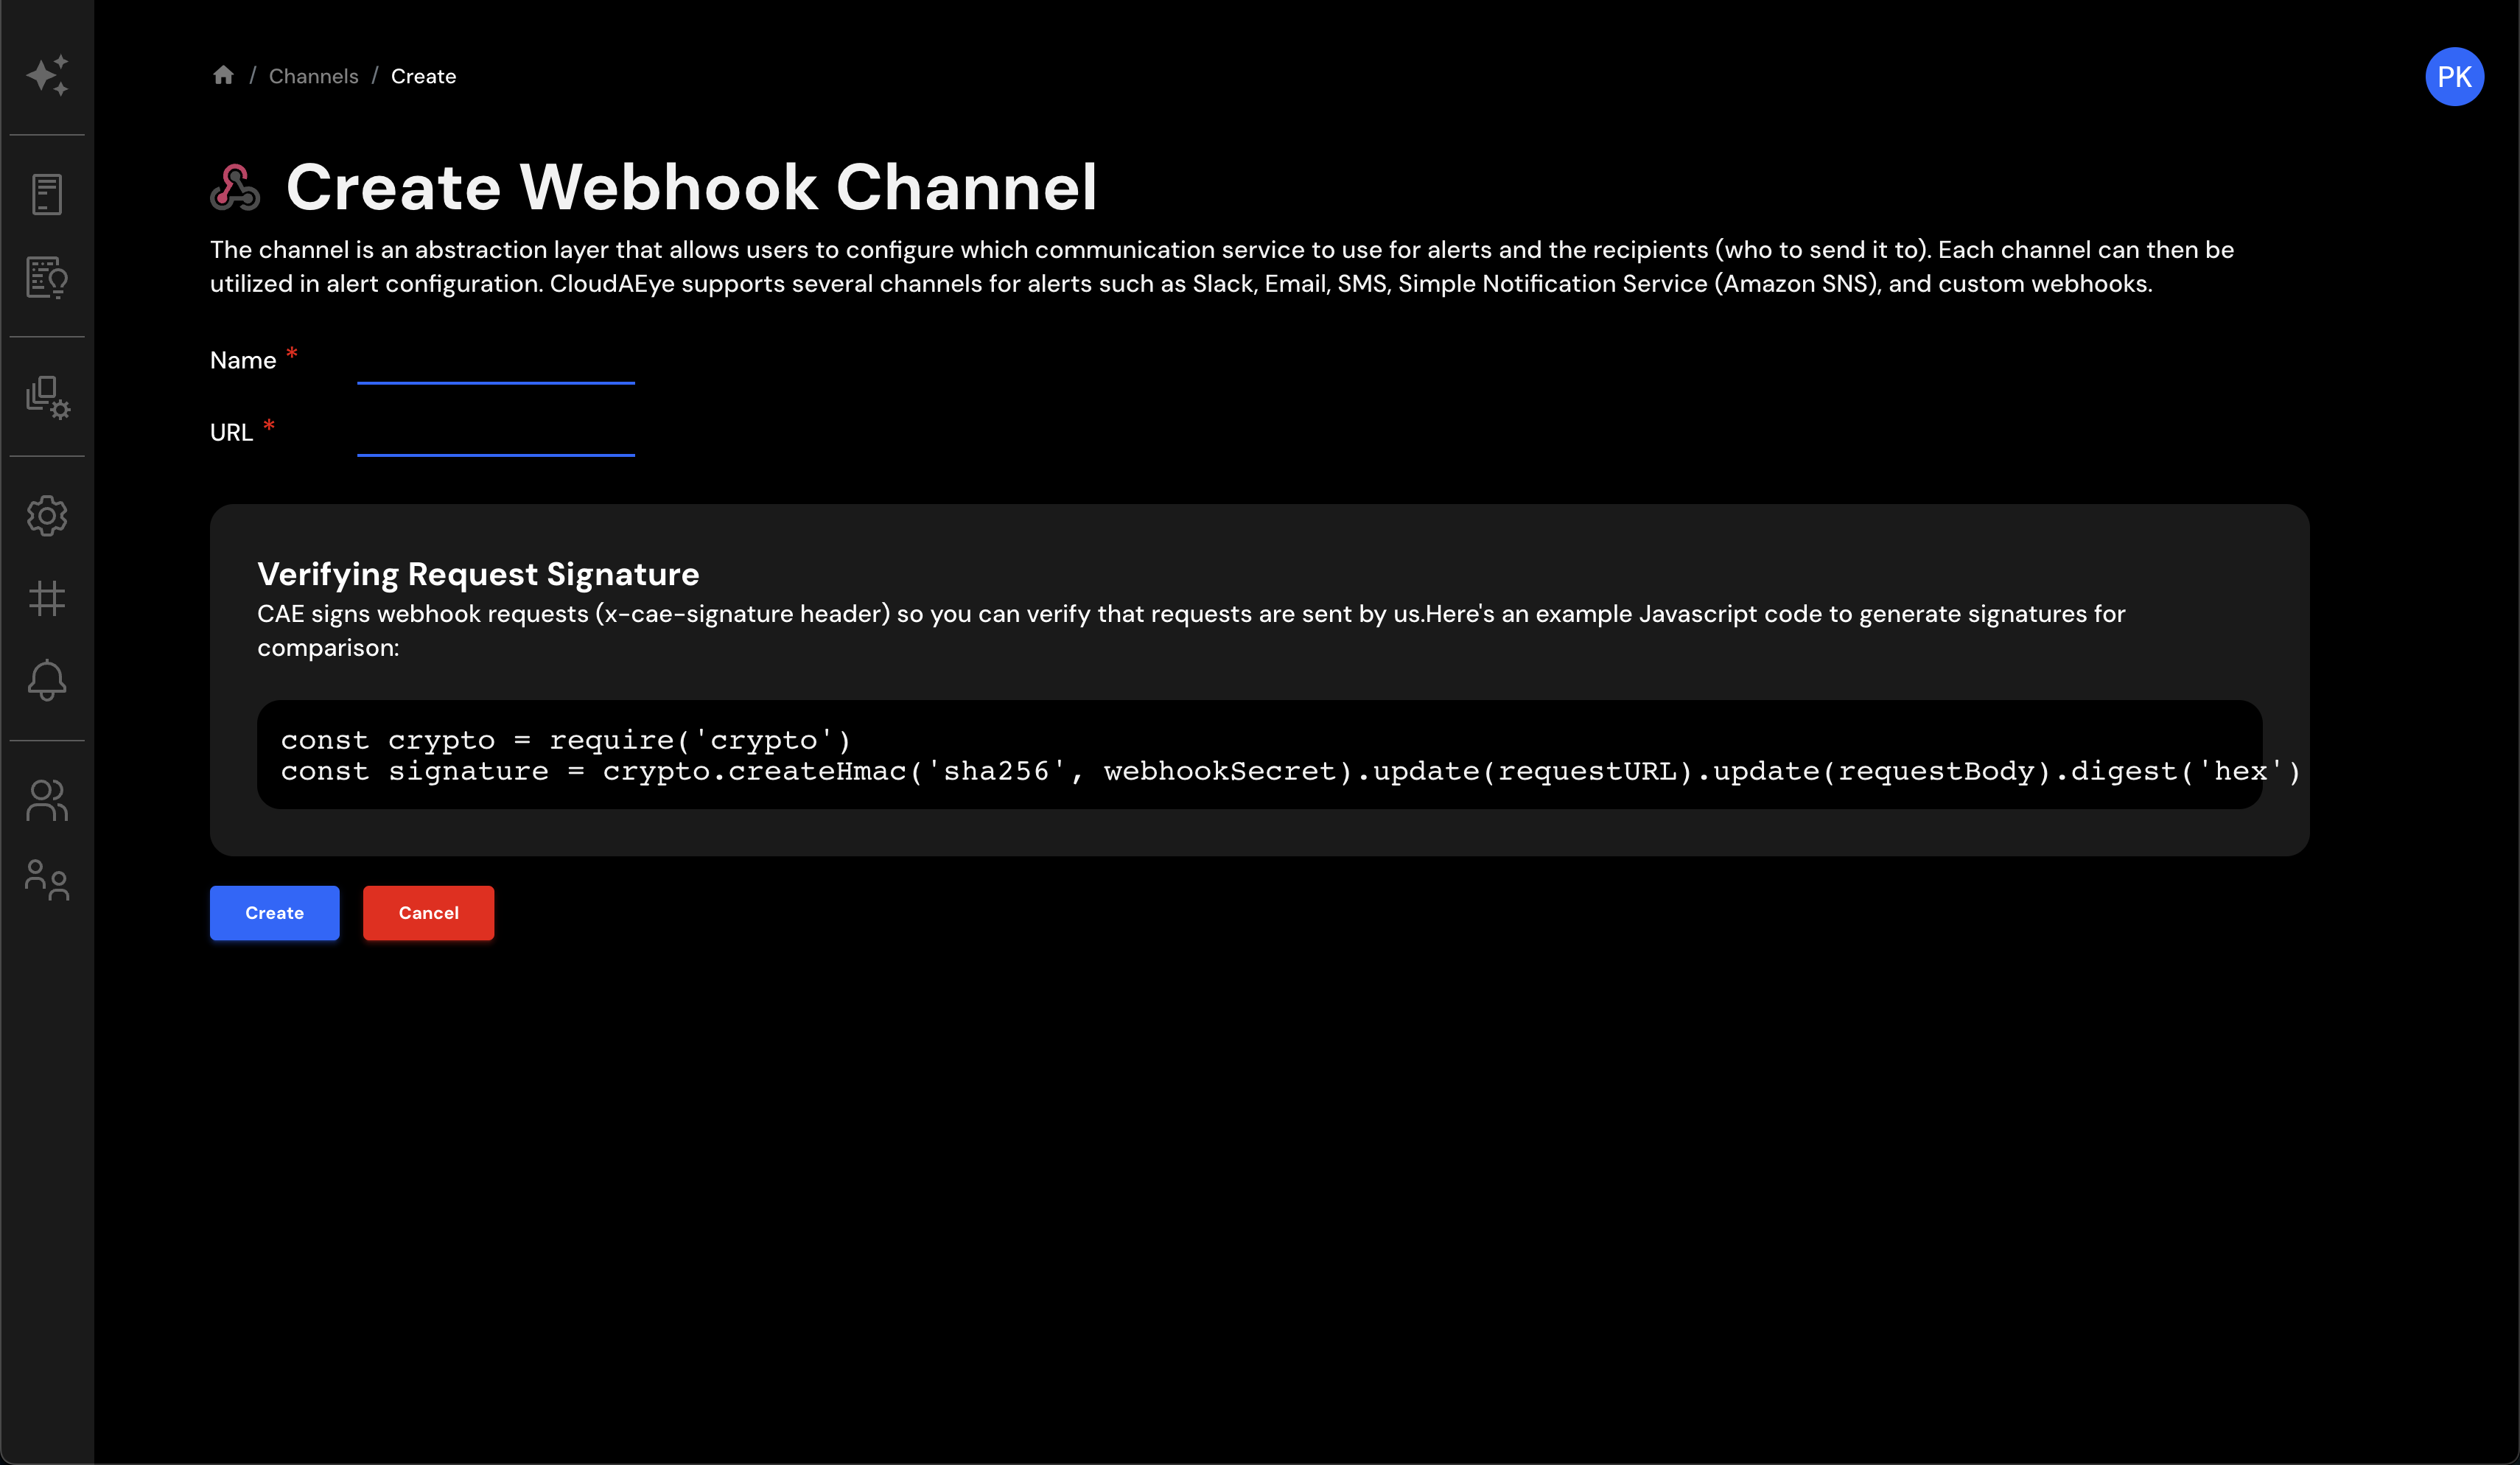
Creating a Webhook Channel
Overview
Creating a Webhook channel with CloudAEye offers a highly customizable way to receive notifications about system alerts. With Webhooks, you can connect your system's alerts to other applications, third-party services, or even your own custom scripts. This guide provides a step-by-step walkthrough of setting up a Webhook channel with CloudAEye.
What is a Webhook?
A Webhook is a method used to allow one web application to provide other applications with real-time information. It works via a chosen HTTP callback, which delivers data to the application as soon as it becomes available. This makes it a useful tool for integrating different services and enables applications to communicate with each other automatically.
Webhooks are event-driven and can be configured to trigger particular actions. These actions can range from updating a database, sending an email, or even triggering complex, custom-coded functions. This flexibility is one of the primary reasons why many developers prefer webhooks for real-time data delivery.
Here are some resources that can help you understand more about Webhooks:
Getting Started
Creating a Webhook channel involves defining an endpoint URL where CloudAEye can send HTTP requests when specific events occur in your system. These requests will contain information regarding the triggered events, enabling your applications to react accordingly. The setup process is quite straightforward and can be broken down into a few simple steps.
Step 1: Select Webhook Option
Start by navigating to the Channels page on the CloudAEye dashboard. Here, you'll find a Create Notification dropdown menu. From the options, select Webhook. This choice will take you to a new page dedicated to configuring your Webhook channel.
Step 2: Enter Details
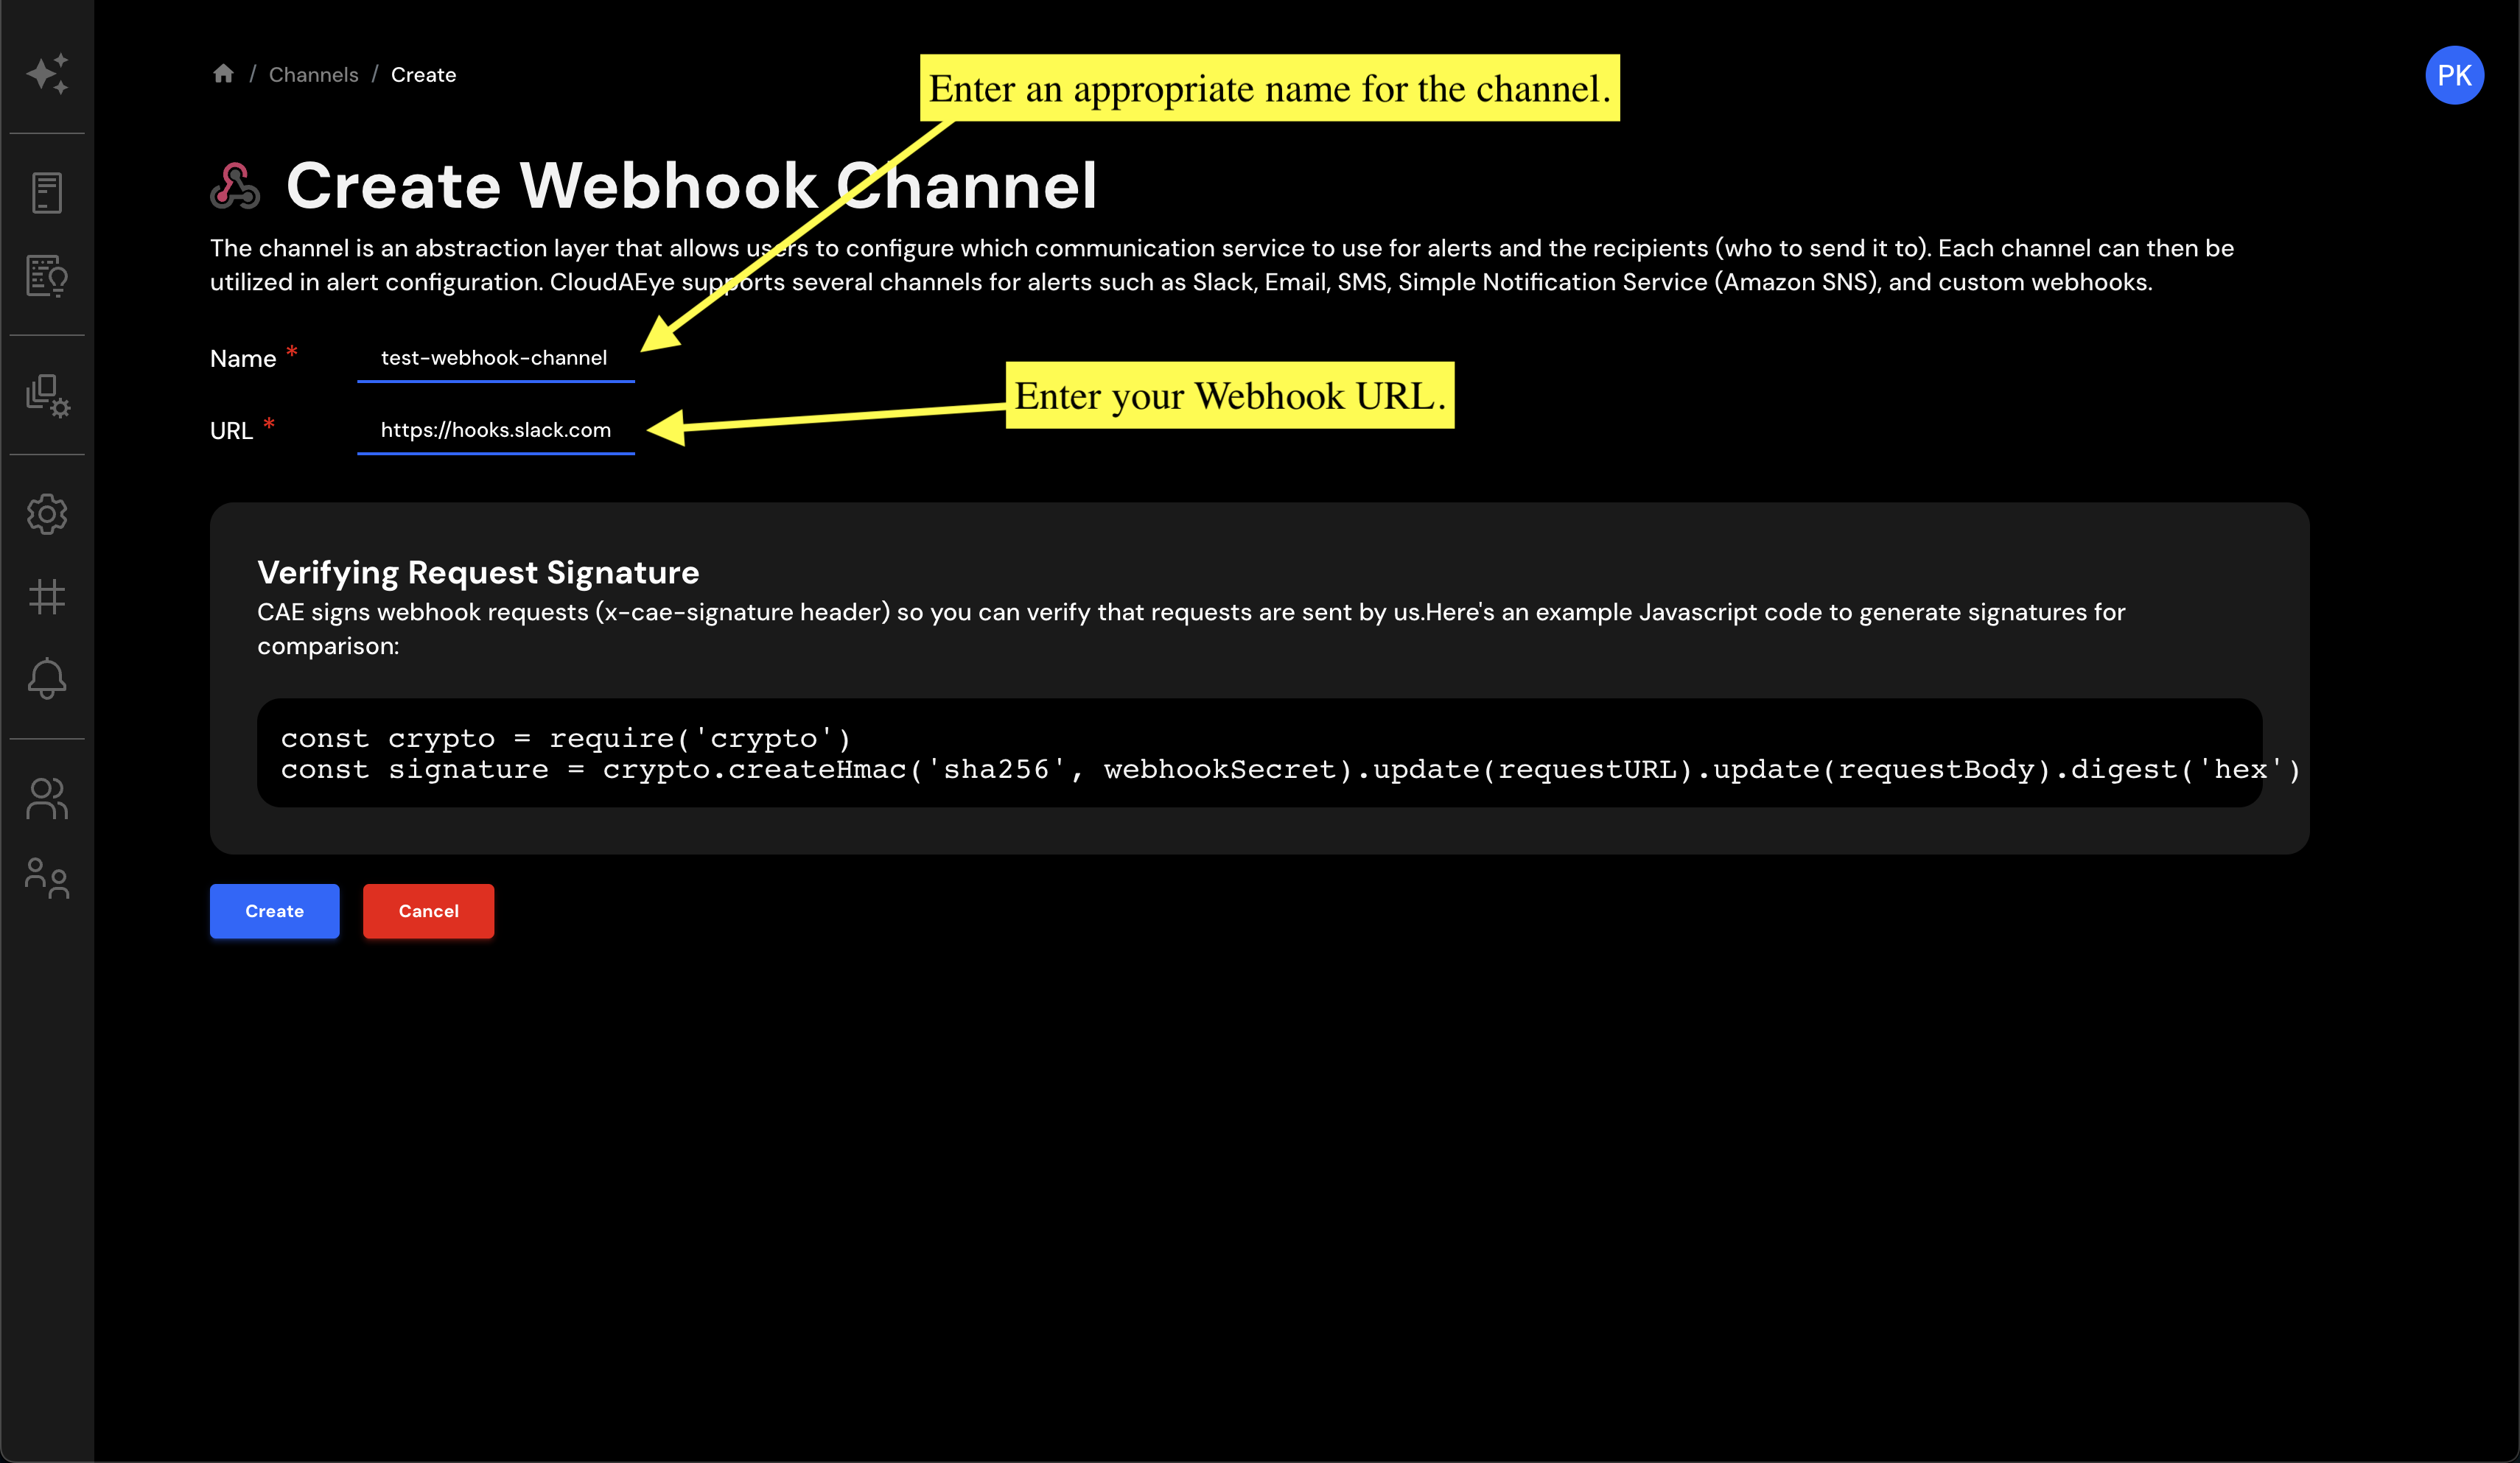
At this stage, you'll need to input two crucial pieces of information:
-
Channel Name: Give your Webhook channel a distinct and meaningful name. This name should ideally provide a hint about the types of events the Webhook is tied to or the services it interacts with.
-
Webhook URL: This is the endpoint to which CloudAEye will send HTTP requests when the specific events occur in your system. Ensure that this URL is correctly formatted and points to an active, accessible endpoint on your server capable of handling and parsing incoming Webhook requests.
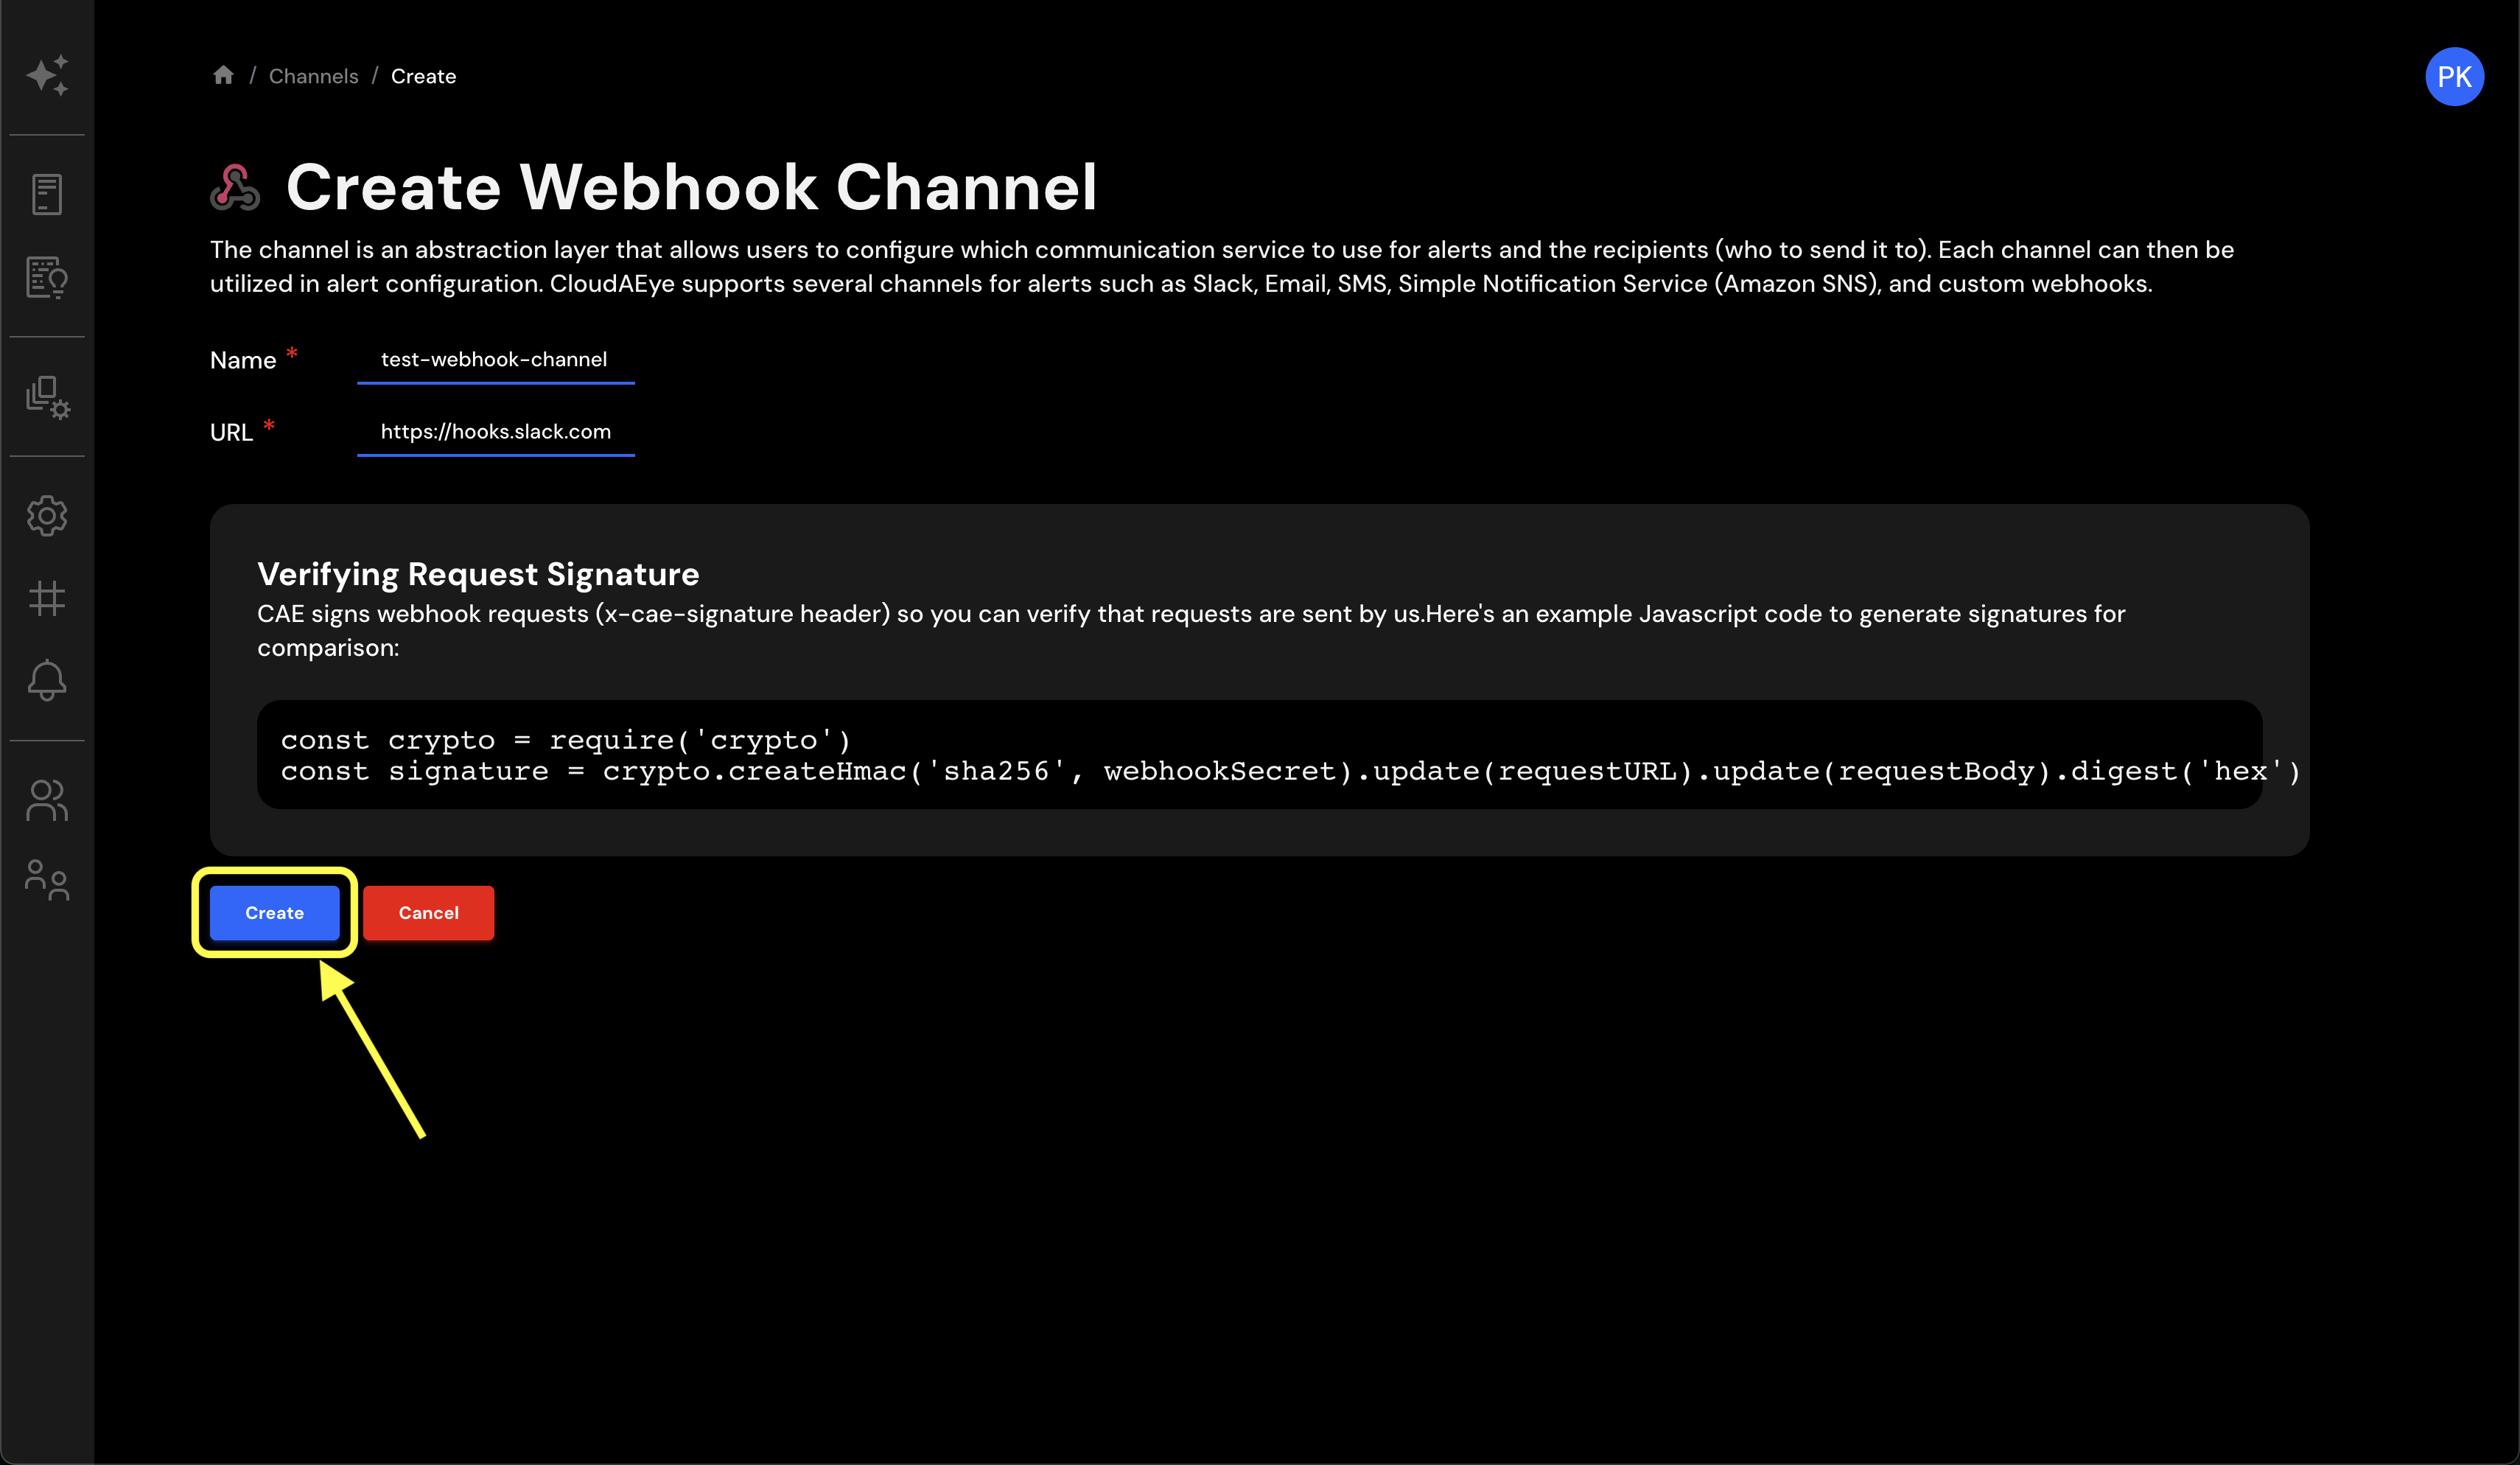
Step 3: Create the Channel
Once you've carefully filled in the channel name and Webhook URL, proceed to create your new Webhook channel. To do this, click on the Create button at the bottom of the page. This action will validate your input and, if successful, establish your new Webhook channel.
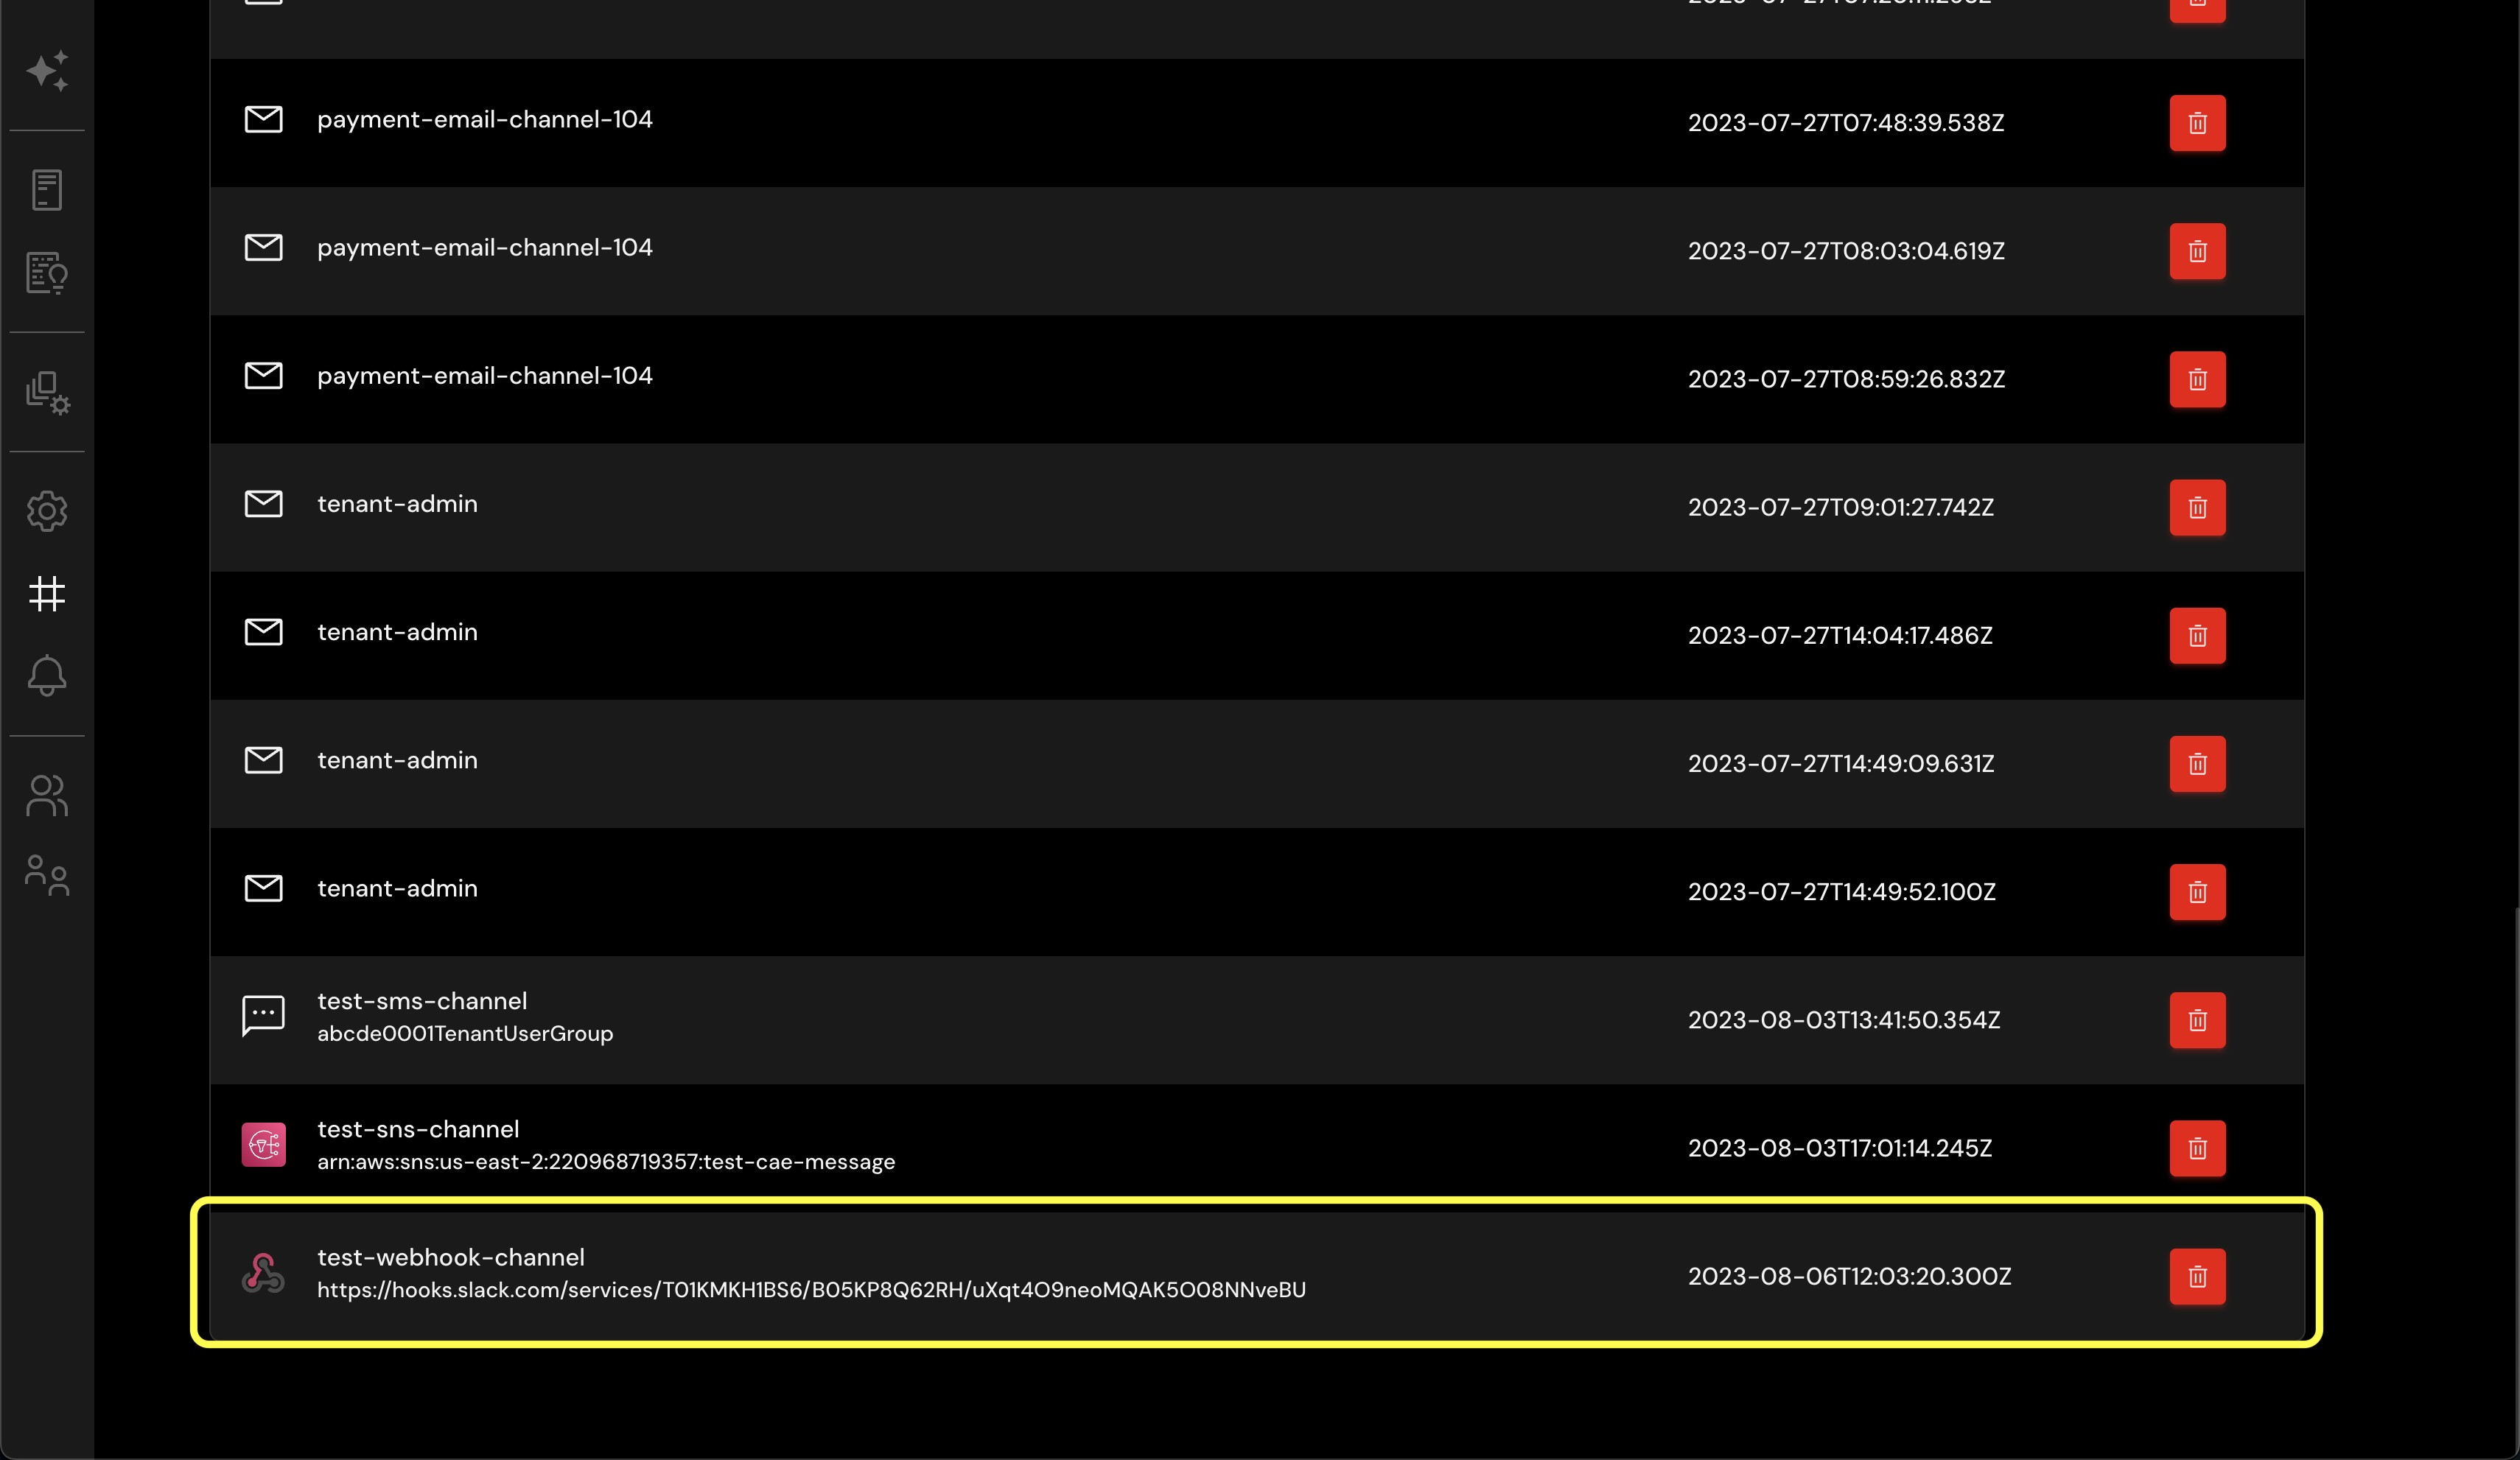
Success: Webhook Channel Configured!
Congratulations on your successful integration of the Webhook channel with CloudAEye! You've just added another layer to your system's notification architecture, further bolstering its monitoring capabilities.
You can now find your newly configured Webhook channel at the bottom of the channels table on your CloudAEye dashboard. The addition of this channel means that CloudAEye can now send HTTP requests to your designated endpoint whenever specific events occur in your system.
This new integration paves the way for more extensive system tracking, real-time updates, and automated reactions to system events - all helping to improve your system's resilience and responsiveness.